Essential Guide to SSH Tunnel Configuration for Reporting

TL;DR: SSH tunneling enables secure, encrypted access to remote databases for reporting without exposing credentials or bypassing firewalls. Bold Reports® integrates SSH tunneling directly into its data connectors, helping organizations securely connect to restricted data sources, protect sensitive data, and meet compliance requirements with ease.
Introduction
Securely accessing remote databases is a common challenge for organizations that rely on accurate, real-time reporting. Many teams struggle with exposing sensitive credentials or bypassing firewalls when connecting to internal data sources. Bold Reports solves this by offering SSH tunneling in its data connectors, enabling encrypted connections without compromising security. This blog explains what SSH tunnel is, why it’s essential for secure and compliant reporting, and how to configure it within Bold Reports. If you’ve encountered issues with restricted access or insecure data transmission, this guide is designed to help you overcome them with confidence.
Why secure data connections matter in reporting
In reporting environments, securing data connections is crucial to protect sensitive information and ensure the accuracy and reliability of derived insights. Here’s why it matters:
-
- Protects sensitive information: Prevents unauthorized access to confidential business data during transmission.
- Ensures data integrity: Maintains the accuracy of data by ensuring it remains unaltered between sources and reporting tools.
- Supports reliable decision-making: Allows the creation of trustworthy reports that guide critical business decisions.
- Enables regulatory compliance: Helps meet data protection standards like GDPR and HIPAA.
- Builds trust in reporting systems: Reinforces stakeholder confidence in the security and accuracy of reports.
Securing data connections is clearly essential for trustworthy reporting. To achieve this level of protection, many BI tools rely on advanced methods, one of the most effective being SSH tunneling. Let’s take a closer look at what SSH tunnels are.
What is an SSH tunnel?
An SSH tunnel is a secure communication channel established between a client and a remote server using the SSH (Secure Shell) Protocol. It encrypts data traffic and forwards it through a protected connection, allowing users to access services, such as databases, that are otherwise restricted or behind firewalls, and protect sensitive information during data transfers.
Next, let’s discuss how SSH tunnels work.
How do SSH tunnels work?
SSH tunneling works by creating a secure, encrypted connection between a local machine and a remote server, allowing data to travel safely through this “tunnel.” Here’s a simplified explanation of how it works:
- Establishing the tunnel: When you initiate an SSH tunnel, your local machine connects to a remote server using SSH. This connection is encrypted, meaning any data sent through it is protected from eavesdropping.
- Port forwarding: SSH tunnels use a technique called port forwarding, where a specific port on your local machine is linked to a port on the remote server. This allows you to securely access services, like databases or web apps, running on the remote server as if they were local.
- Data transmission: Once the tunnel is active, any data sent to the local port is automatically encrypted and forwarded through the SSH connection to the remote server. The server then decrypts the data and passes it to the intended service.
- Use in reporting: The decrypted transferred data is used in reporting tools like Bold Reports.
Now that we’ve explored how SSH tunnels function, it’s important to understand why they’re especially useful in Bold Reports and how they enhance secure reporting.
How Bold Reports uses SSH tunnels for secure reporting
To help users securely access remote databases, Bold Reports integrates SSH tunneling directly into its reporting platform. Here’s how it works and why it matters:
-
- Secure access to remote databases: SSH tunneling allows Bold Reports to connect to databases hosted behind firewalls or private networks without exposing them to the internet.
- Encrypted data transmission: All data passed through the tunnel is encrypted, protecting it from interception or tampering.
- Built-in configuration in Report Designer: Users can configure SSH settings in the embedded Report Designer by specifying server name, port, authentication type, and credentials.
- Flexible authentication options: Supports both password-based and public key authentication for secure access.
- Compliance-friendly setup: Helps organizations meet data protection standards by securing data during transmission.
- Ideal for restricted environments: Enables reporting from environments where direct database access is limited due to security policies.
Recognizing the value of SSH tunneling in Bold Reports sets the stage for practical implementation. Next, let’s walk through the process of configuring SSH tunnels within the platform.
Step-by-step guide to configuring SSH tunnels in Bold Reports
1. Open the Bold Reports Report Designer application (on-premises or enterprise edition). SSH tunneling is not supported in the cloud version.
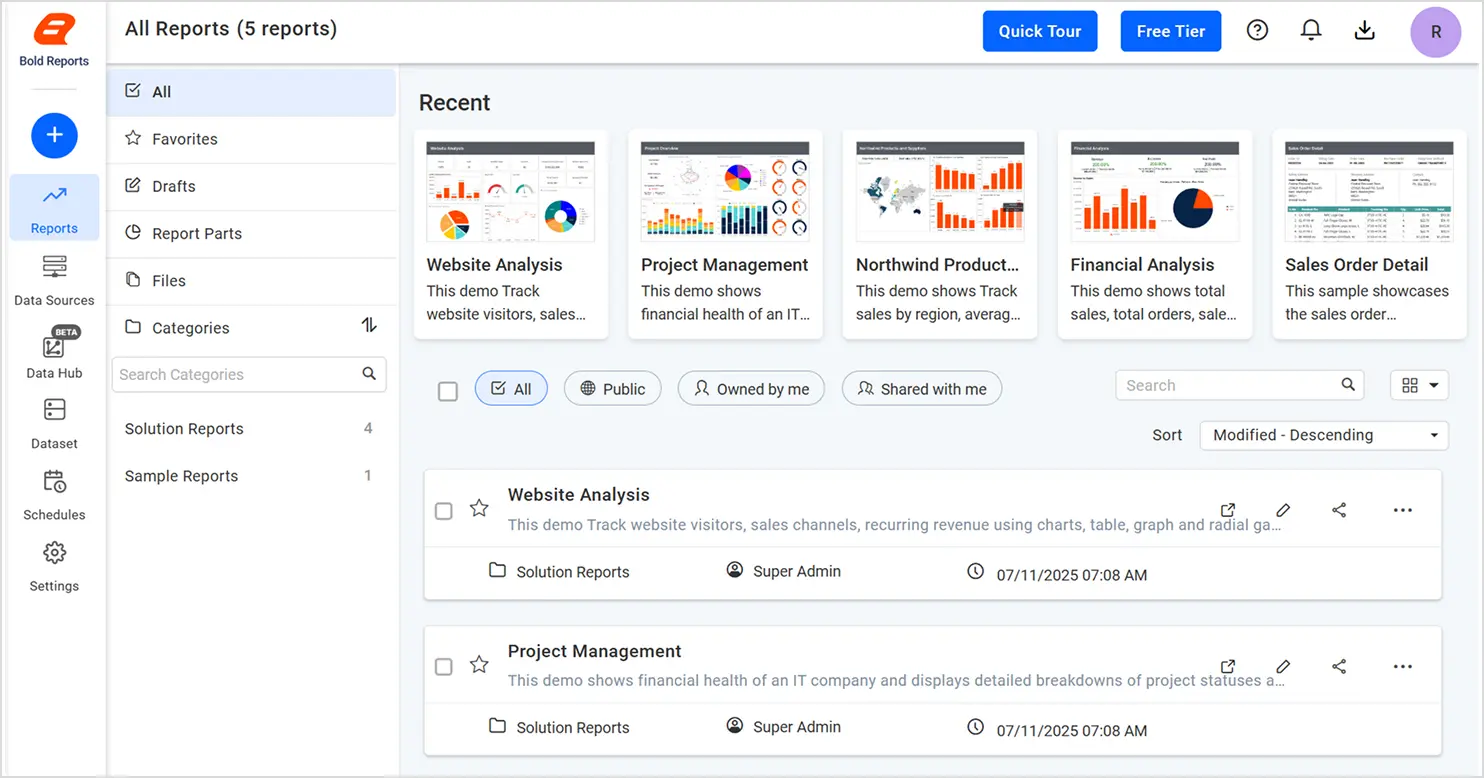
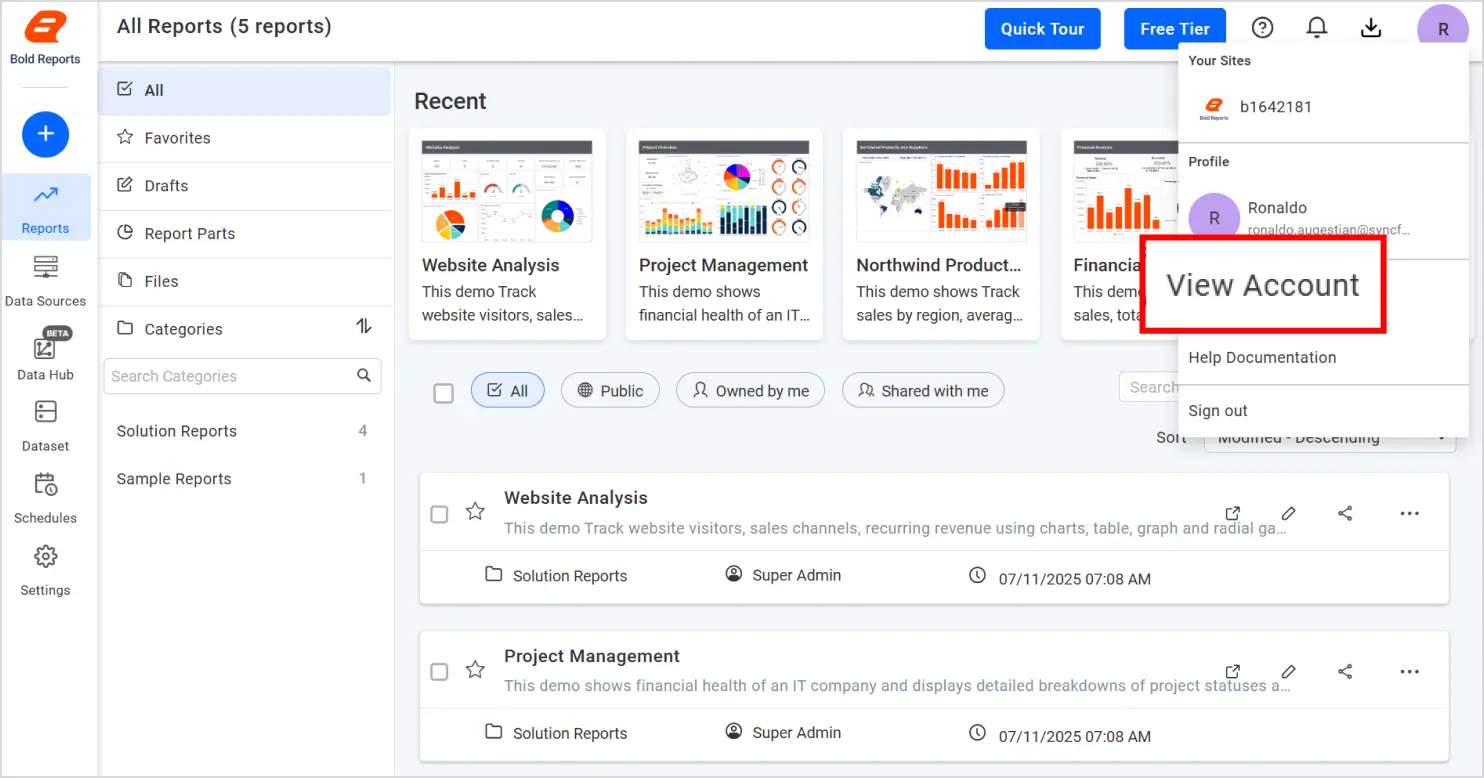
2. Create an account for a free 30-day trial or sign in if you already have access. Click your profile icon at the top-right corner.
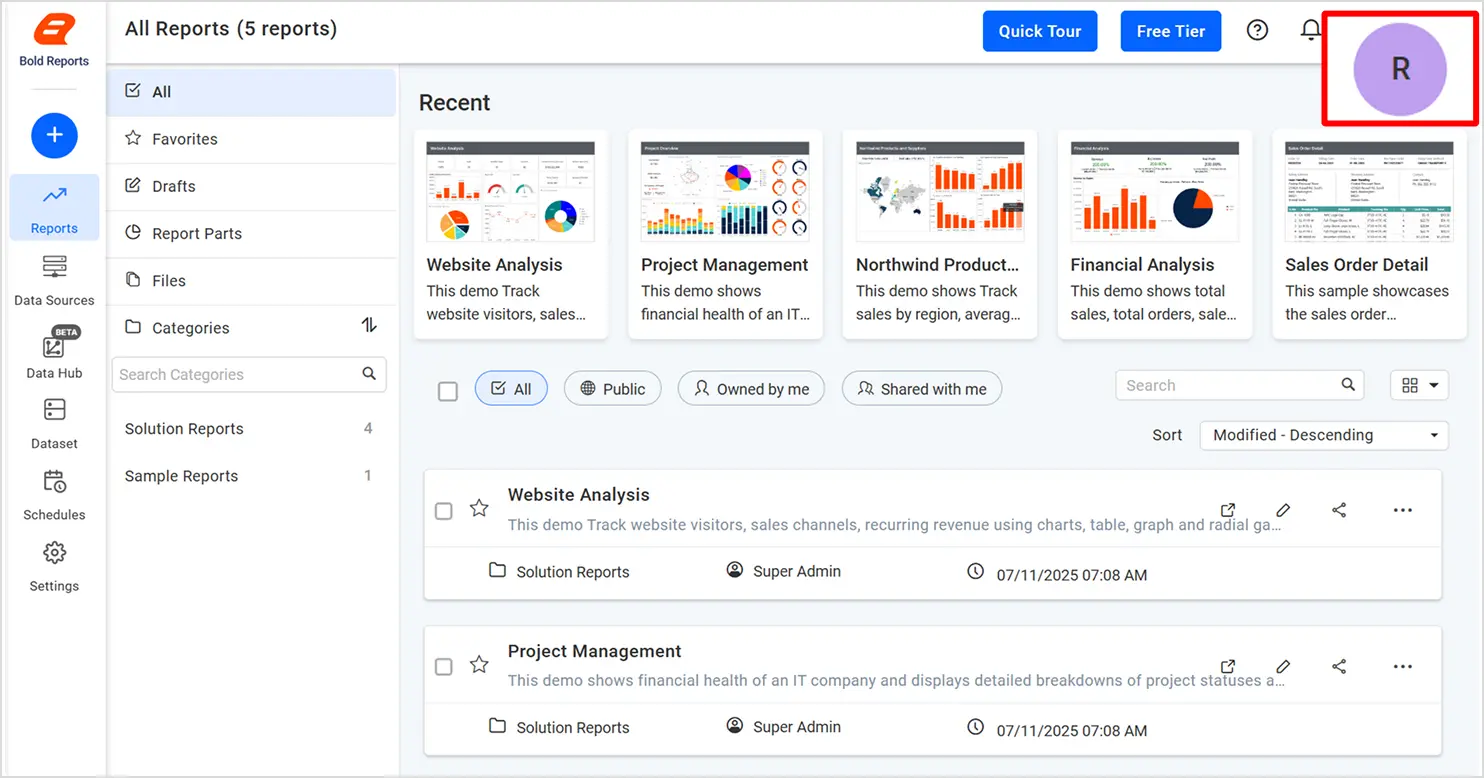
3. Select View Account in the dropdown to access your account settings.
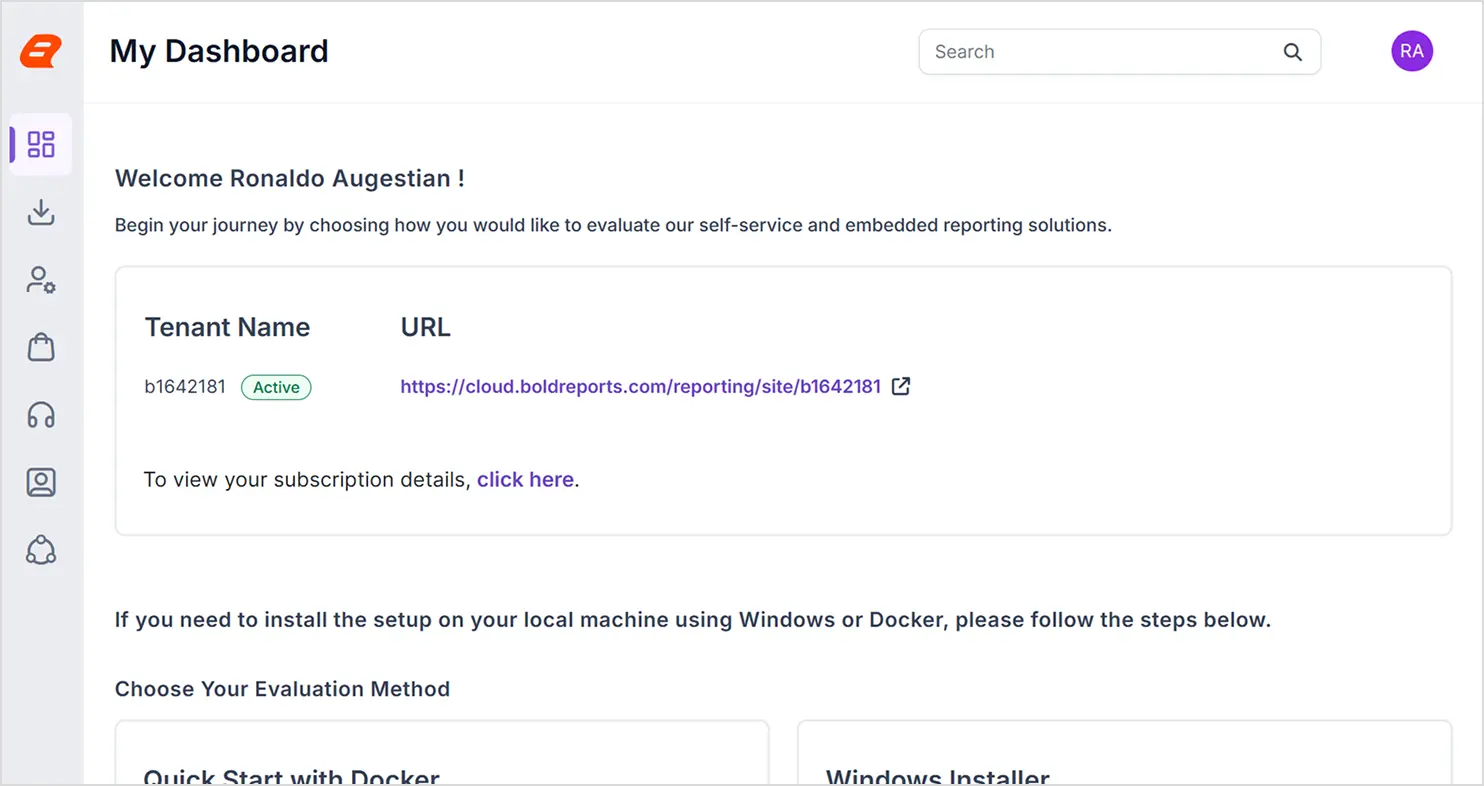
You will be redirected to My Dashboard.
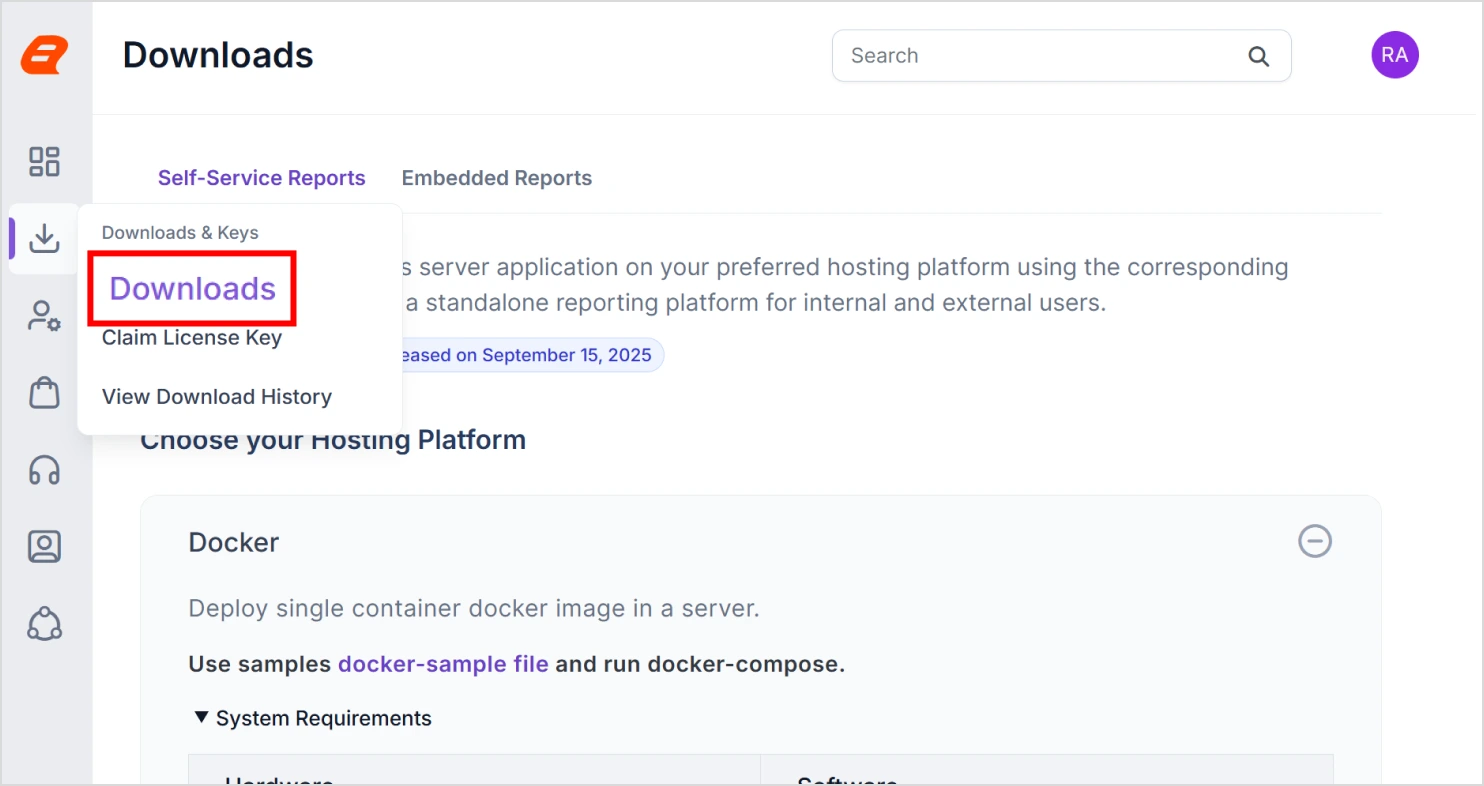
4. Expand the Downloads & Keys item and select Downloads.
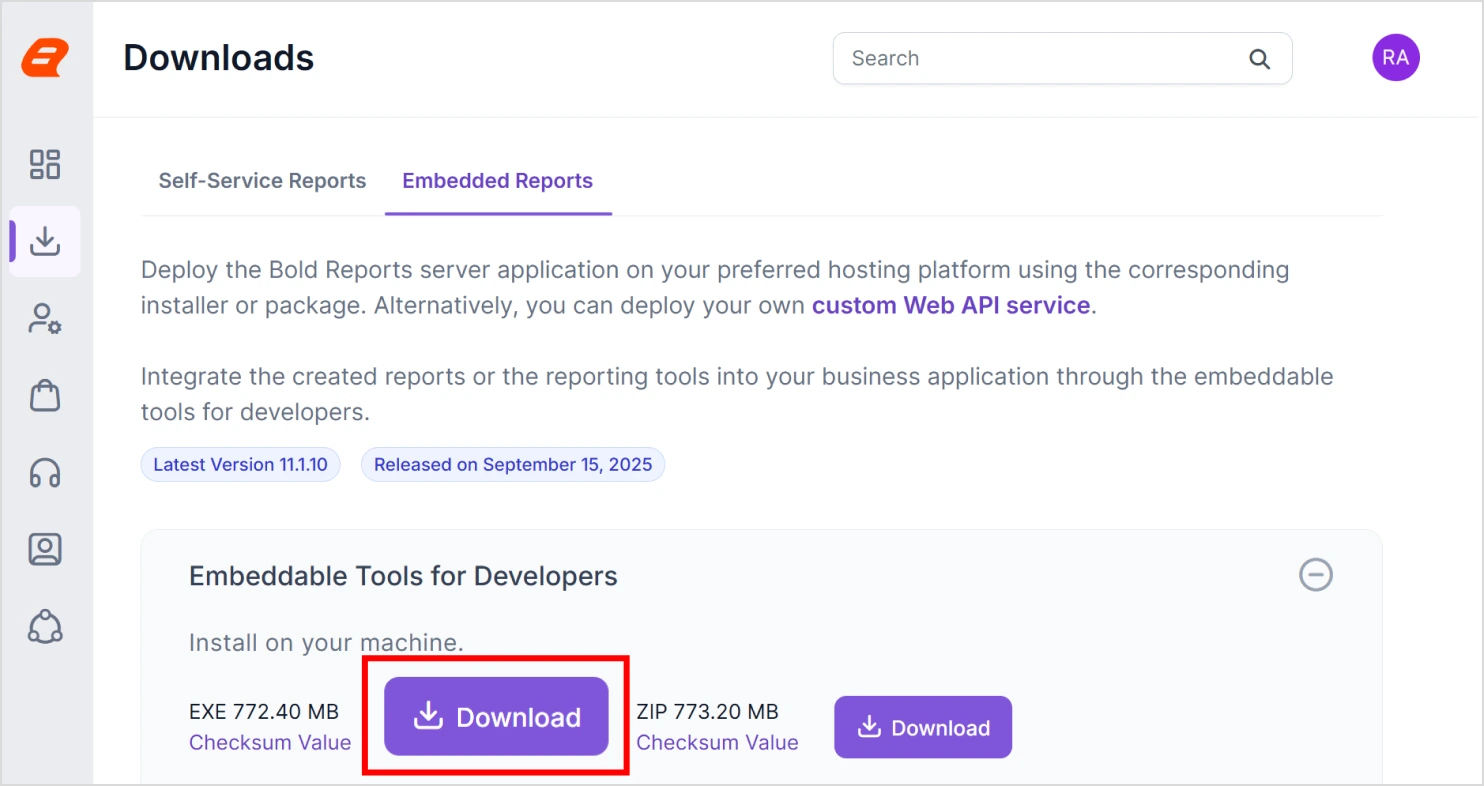
5. In the Standalone Report Designer section, Download the EXE installer.
6. After downloading the setup file, double-click the EXE file in its saved location to start the installation.
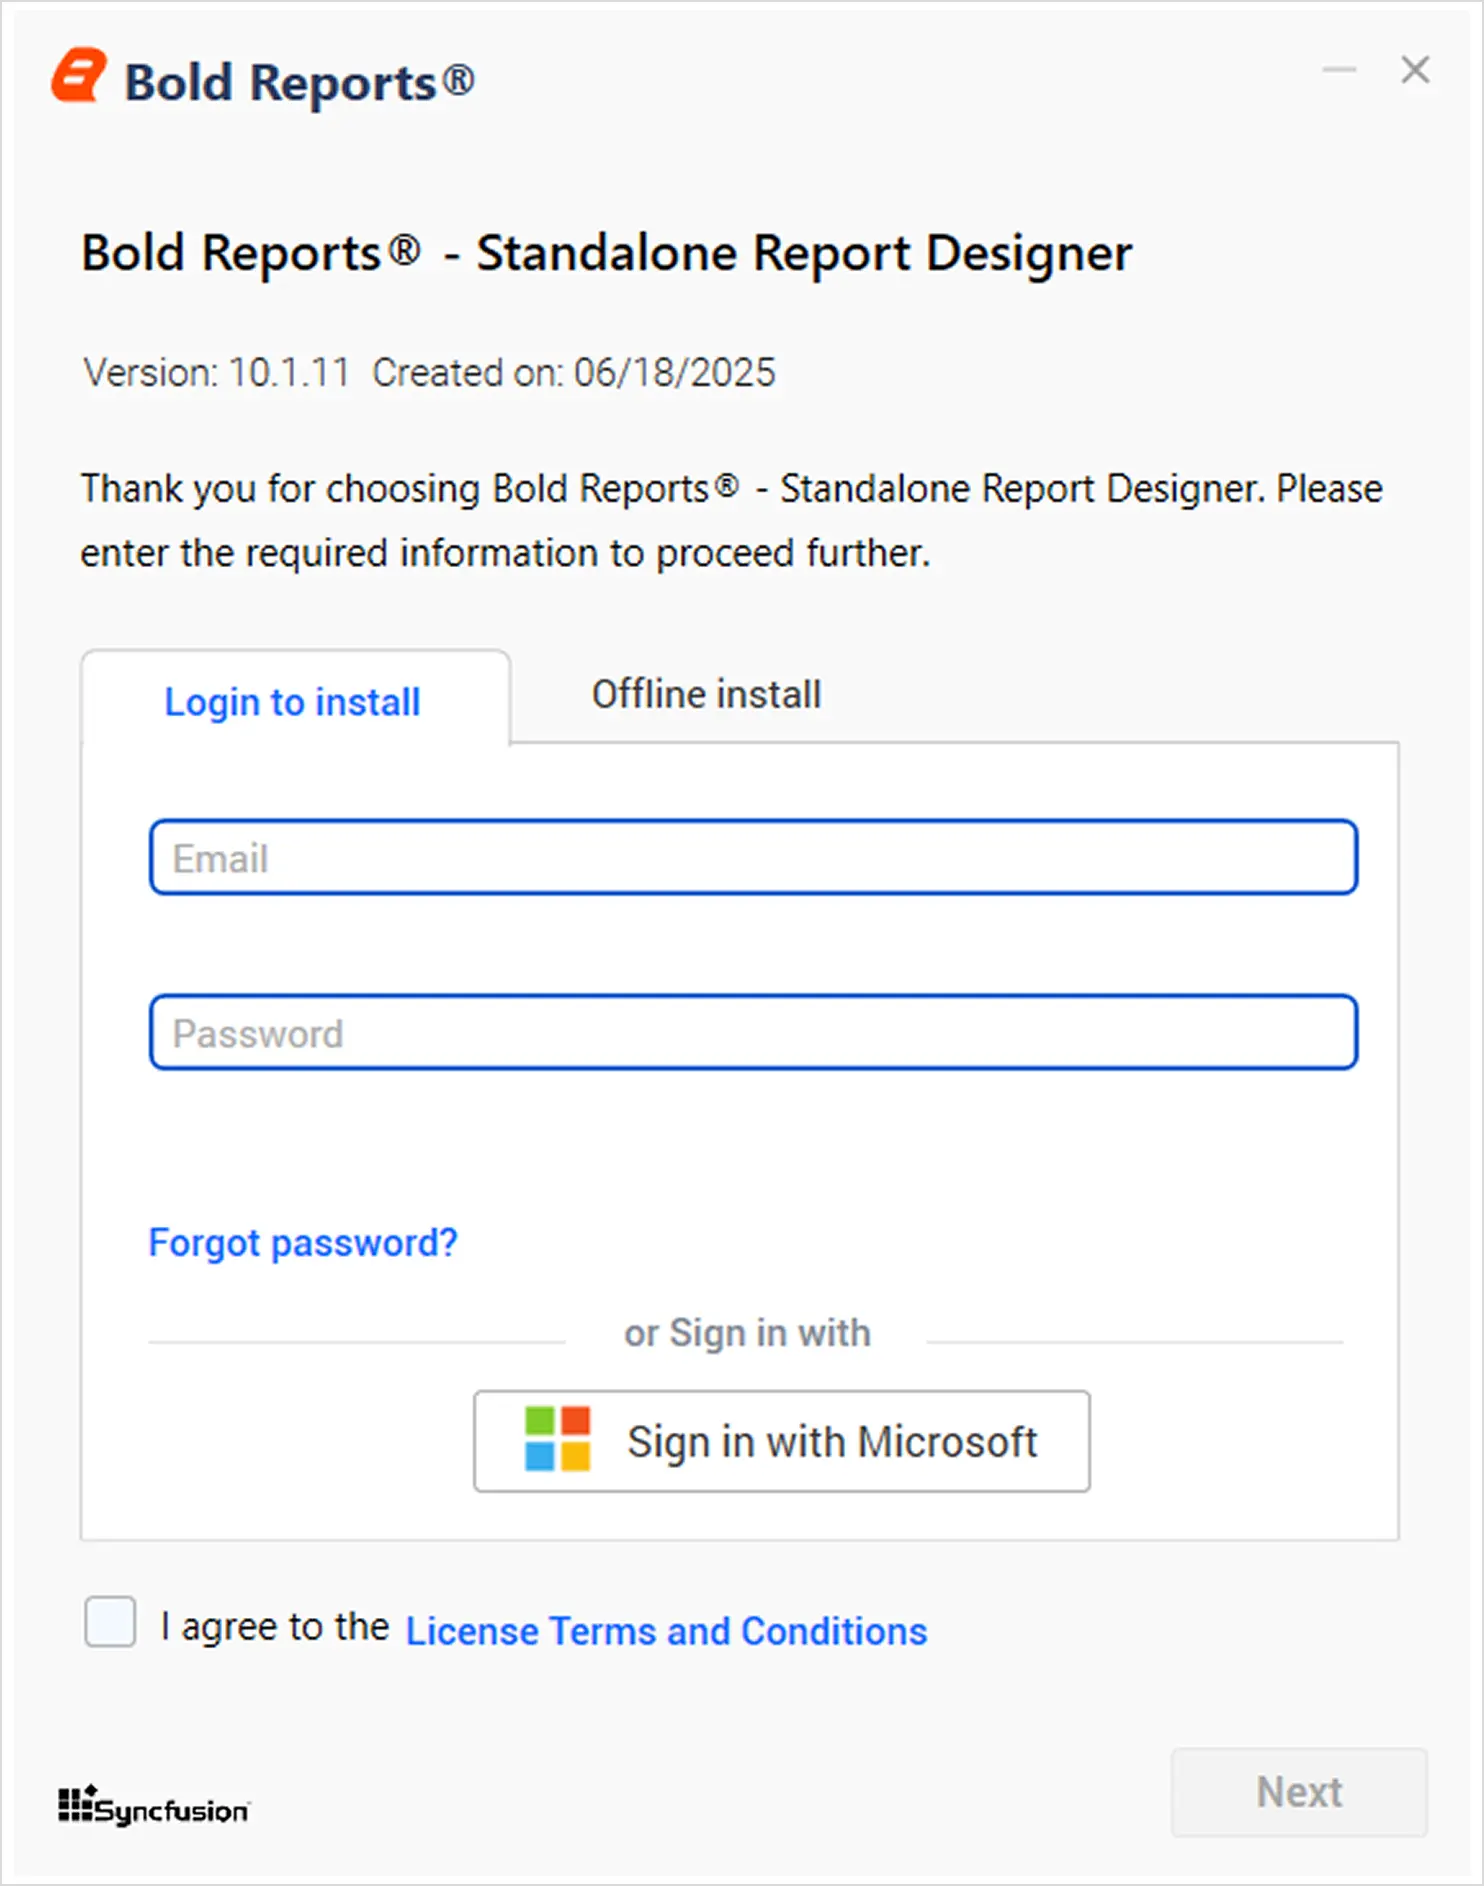
7. When prompted, log in with your Bold Reports credentials or Microsoft account and select the checkbox at the bottom to agree to the license terms and conditions.
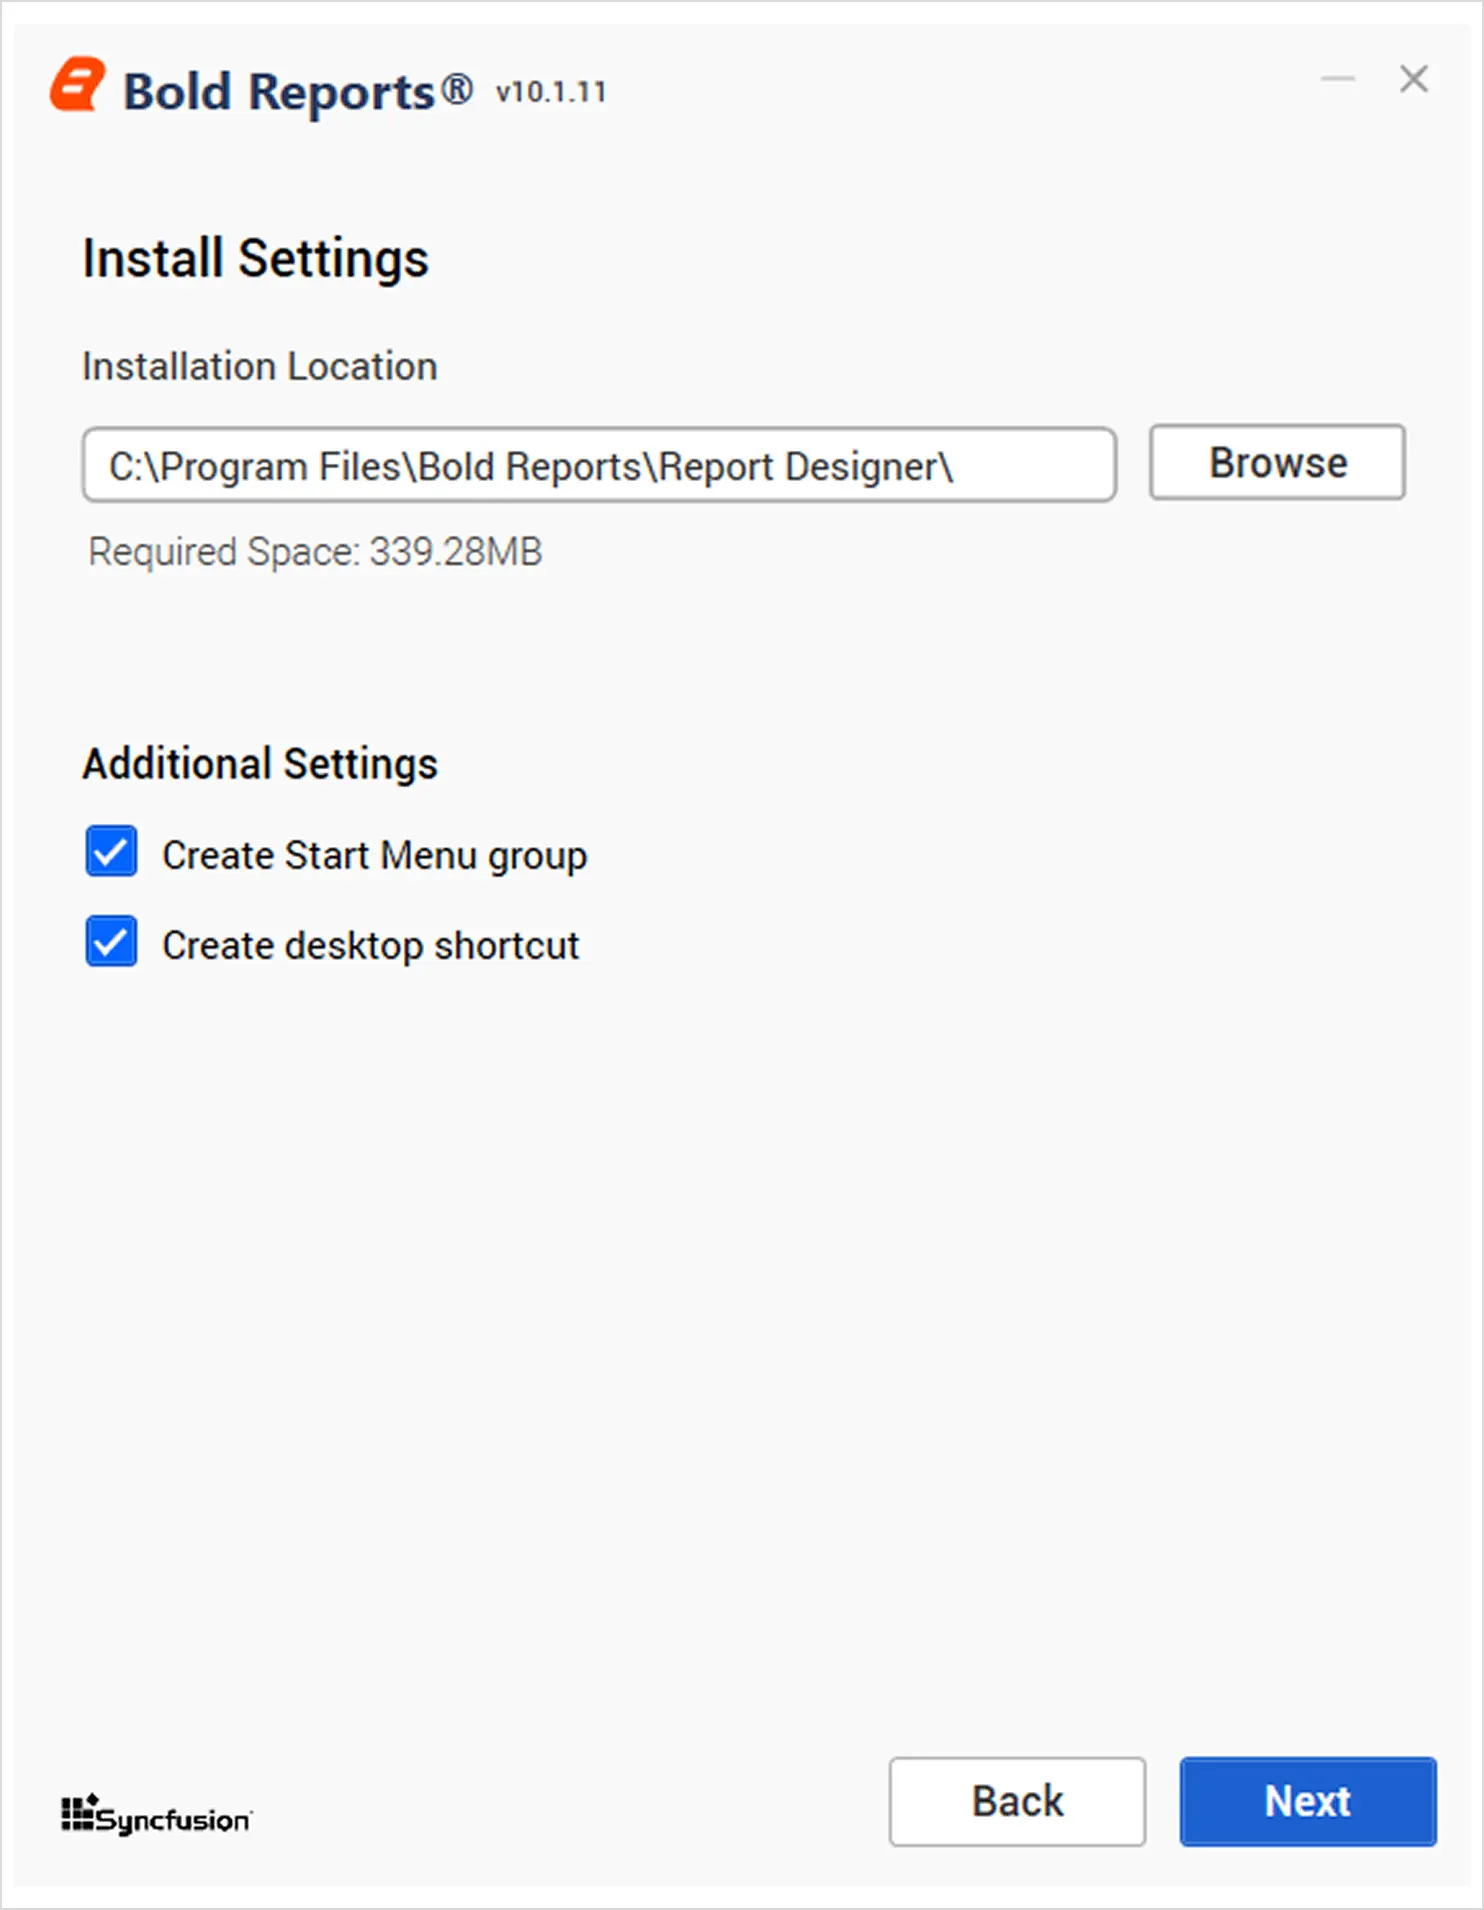
8. Choose the location where you would like to install the Standalone Report Designer and click Next.
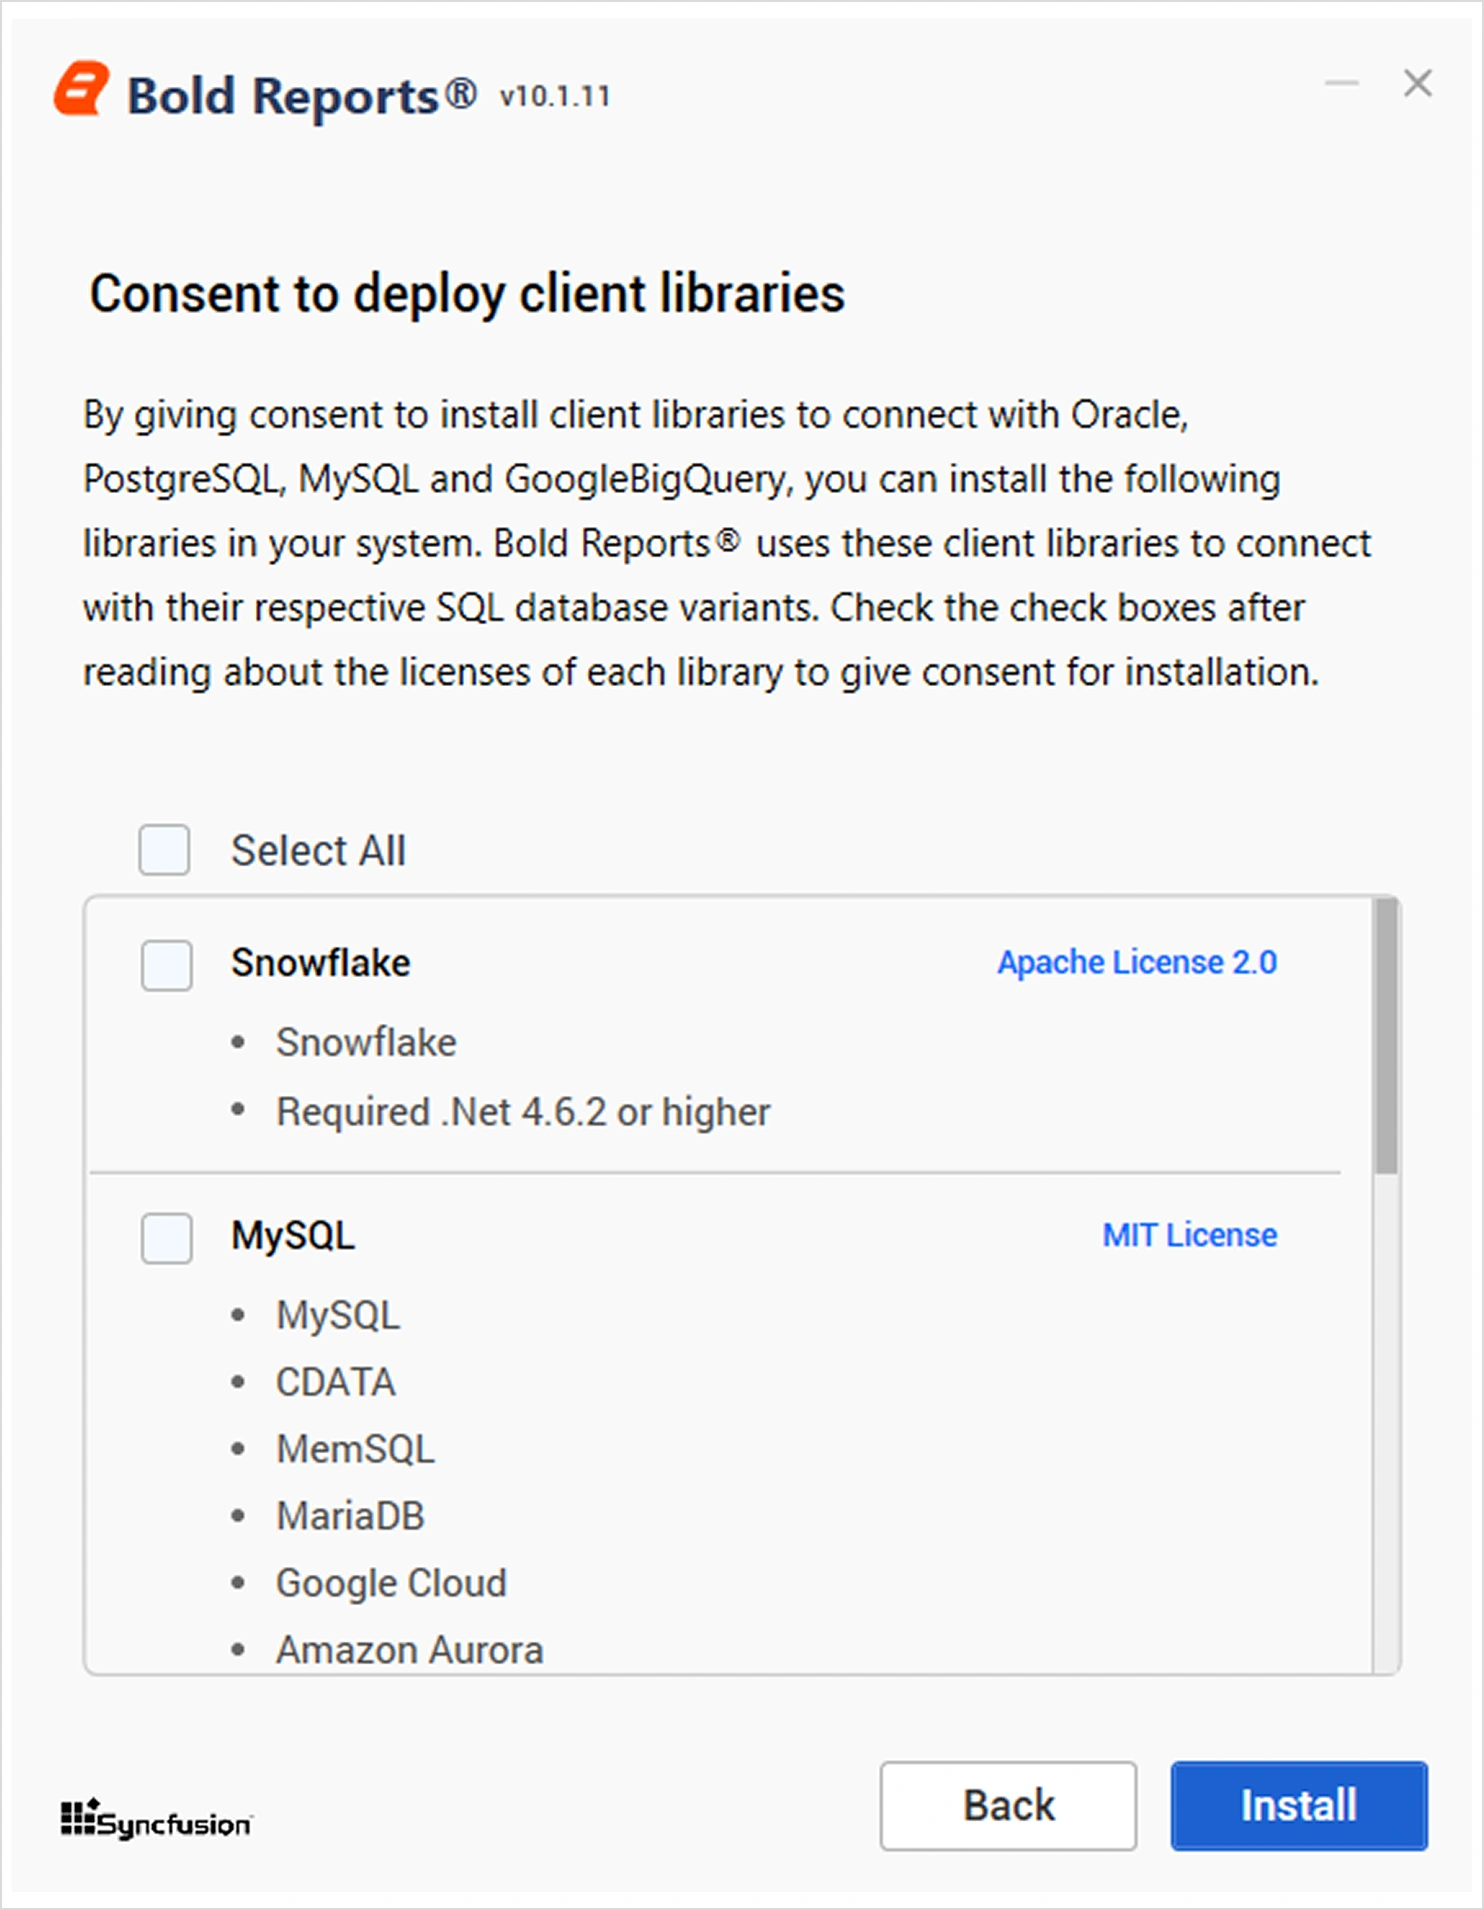
9. Select which client libraries you would also like to install, and then click Install.
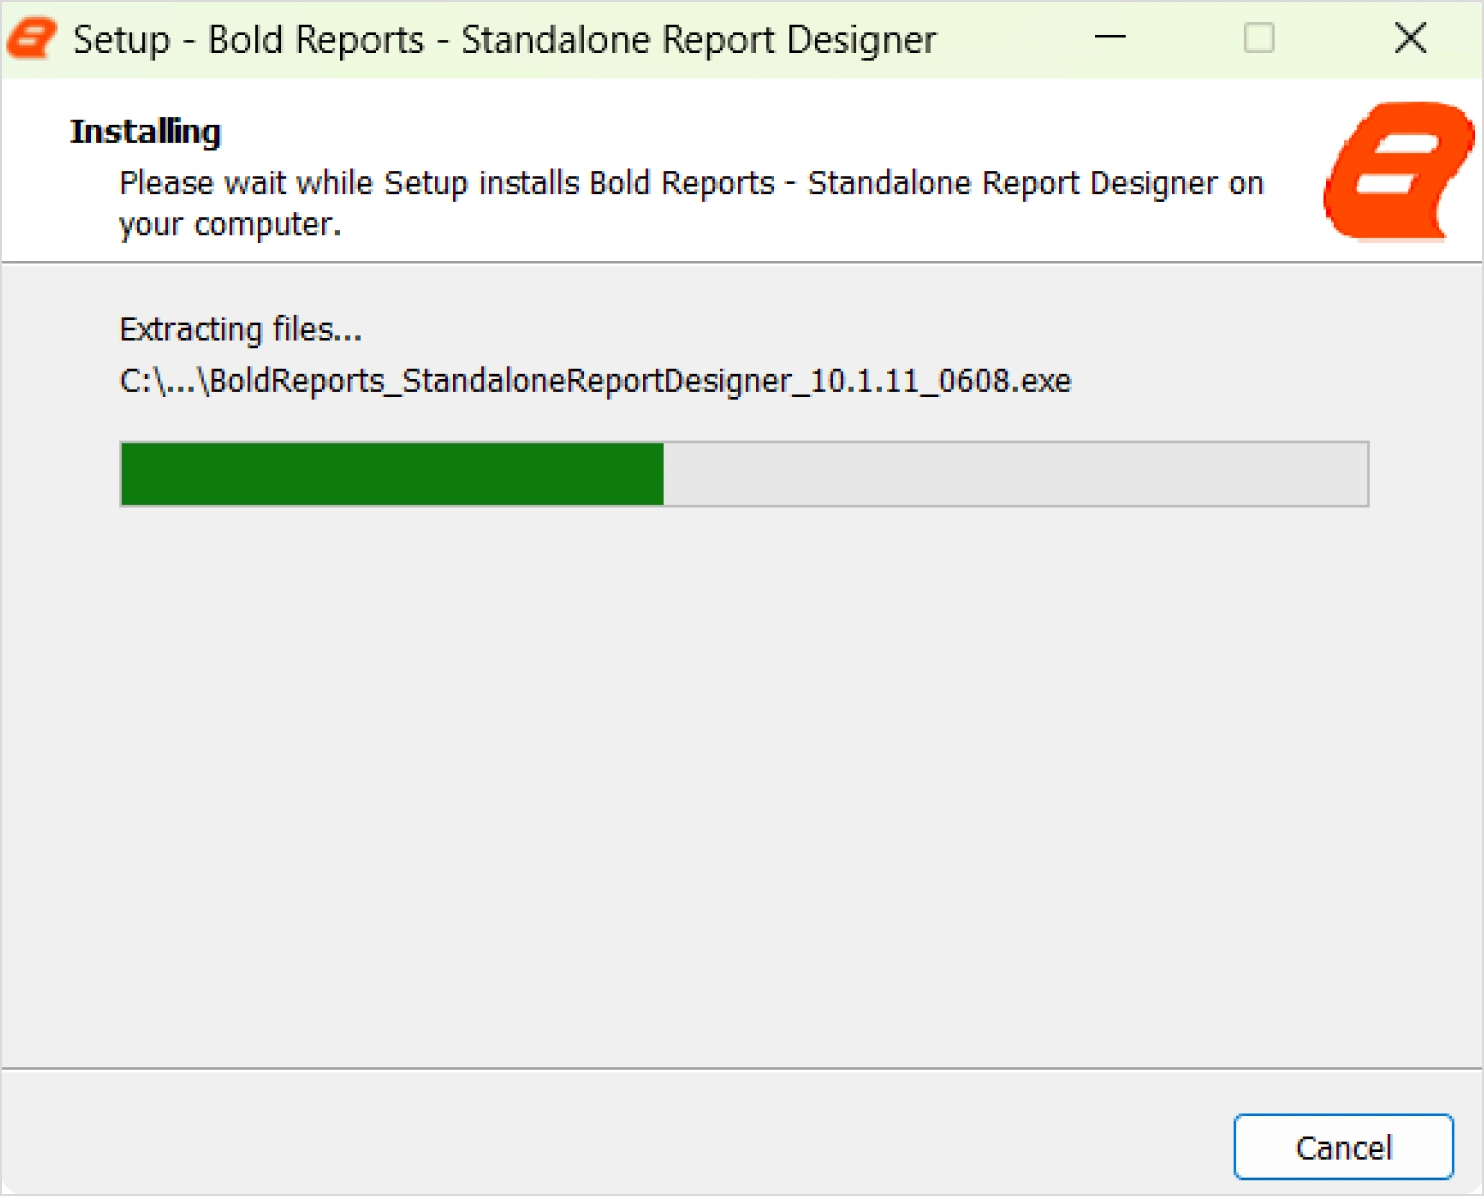
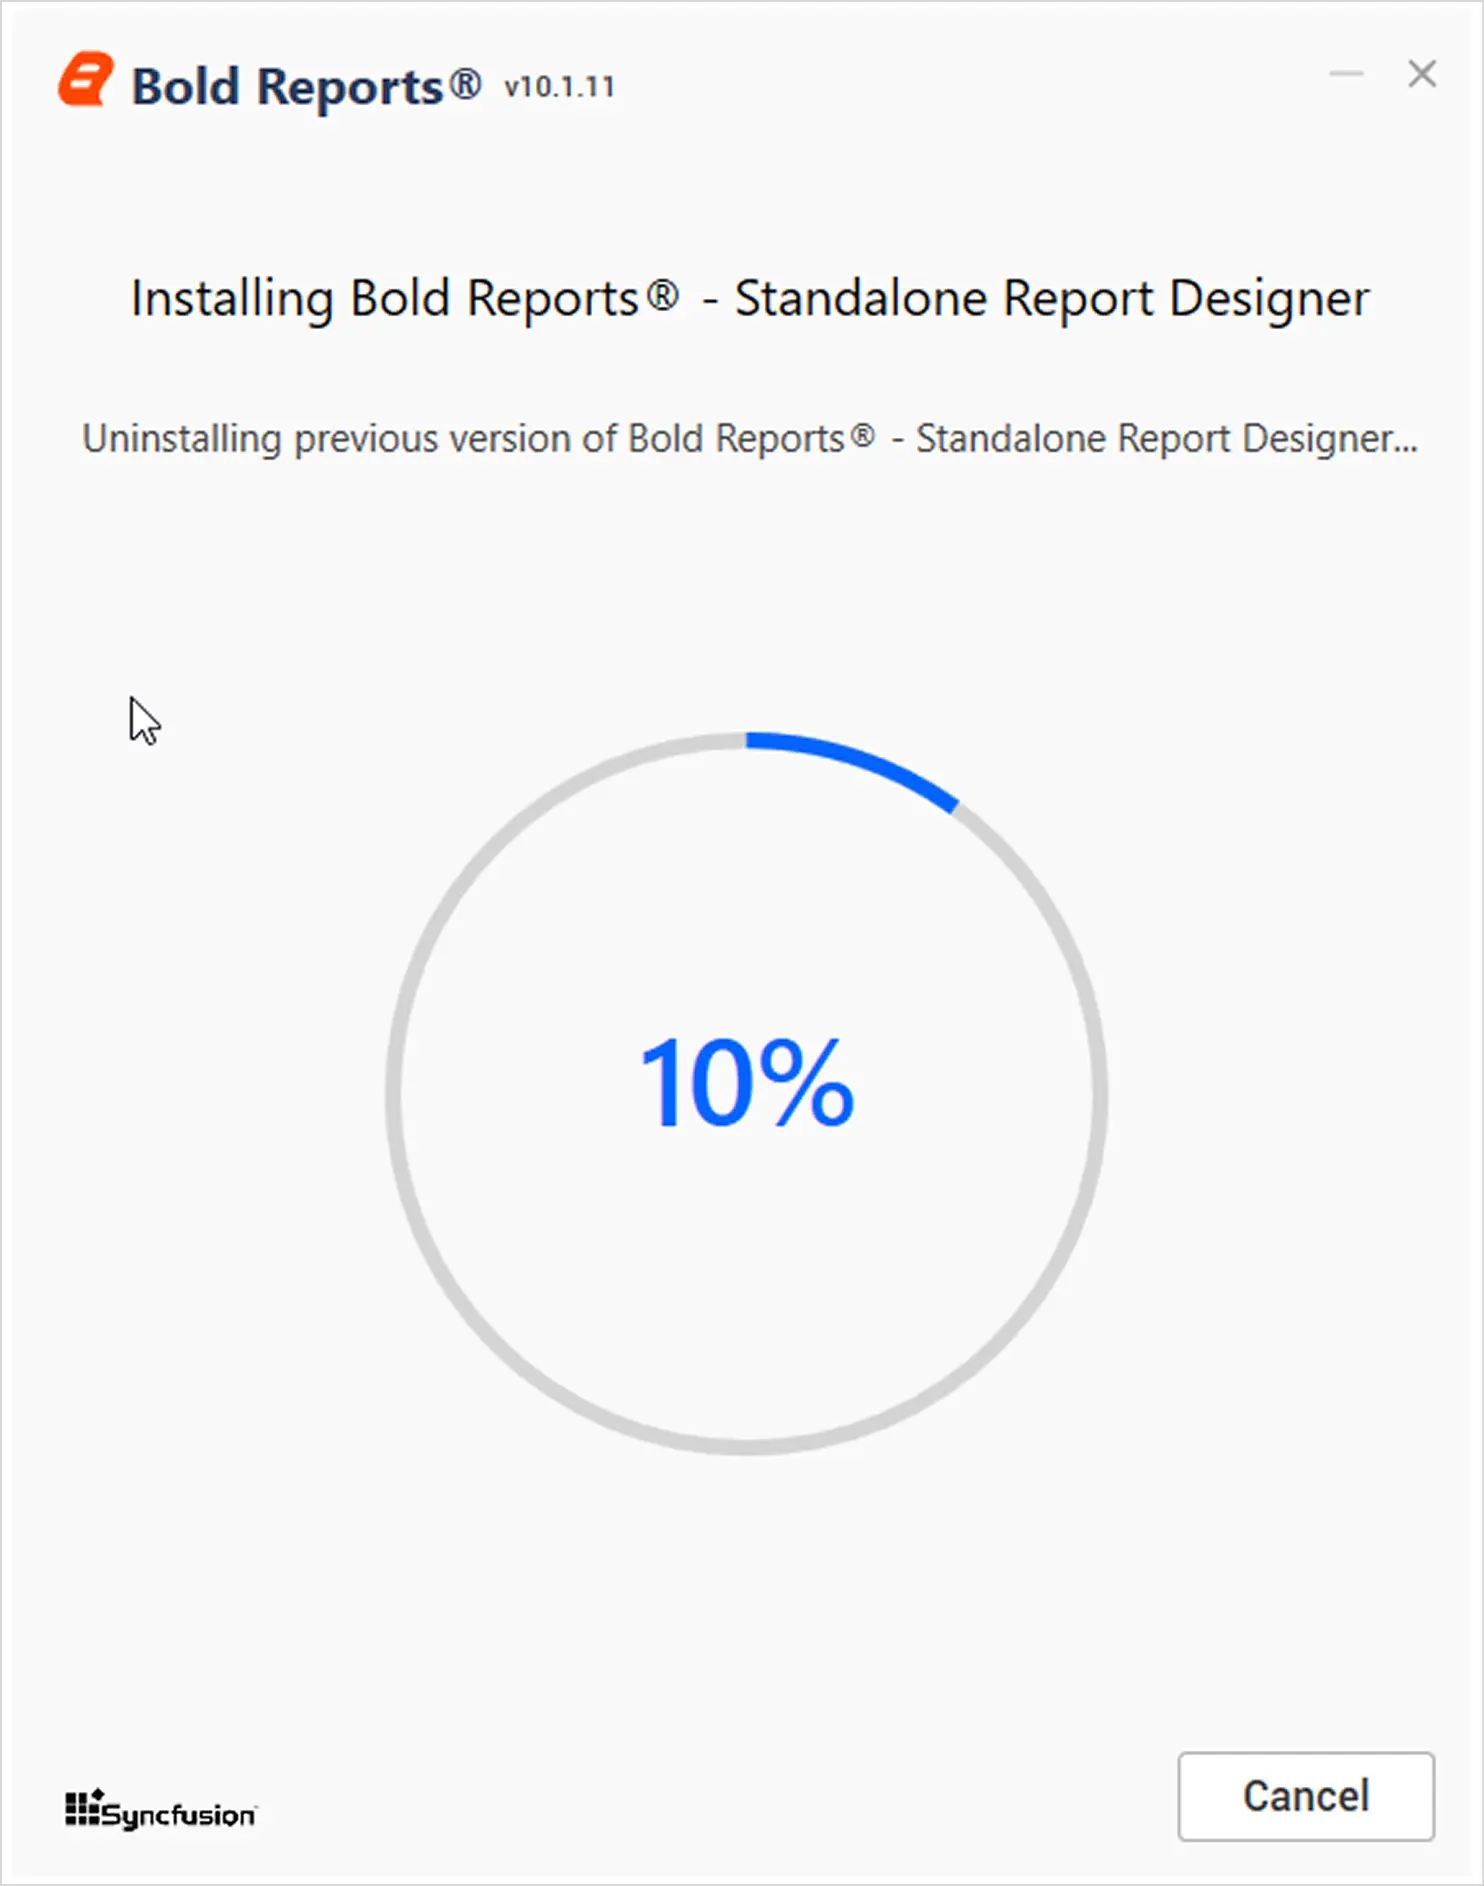
The installation will now begin. You can cancel the installation at any time by clicking Cancel.
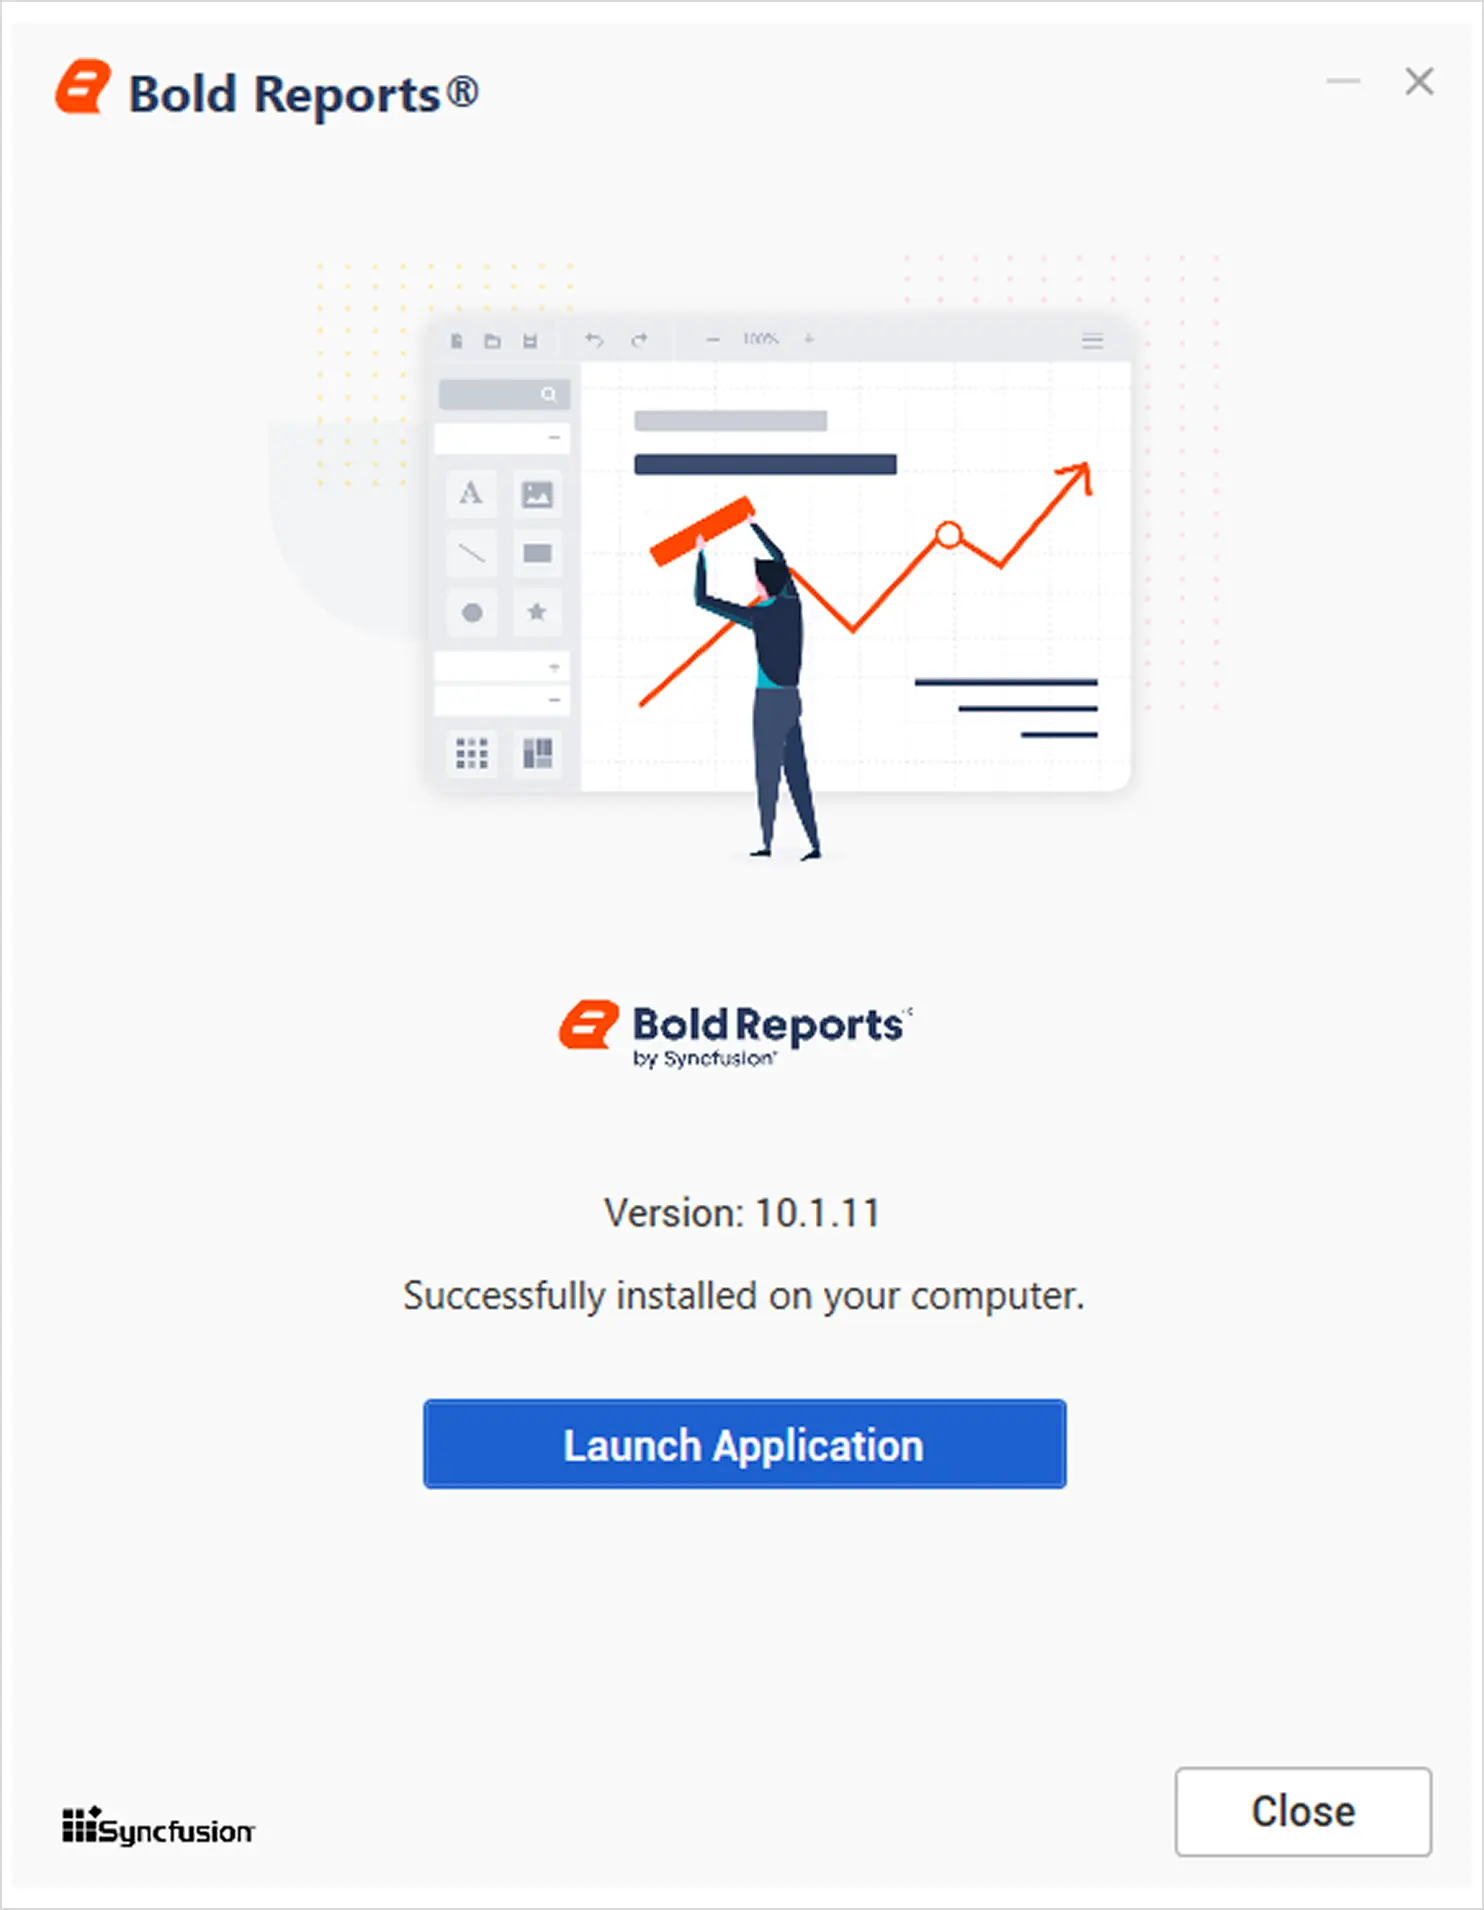
10. Upon successful installation, the following screen will appear. Click Launch Application to start the Standalone Report Designer.
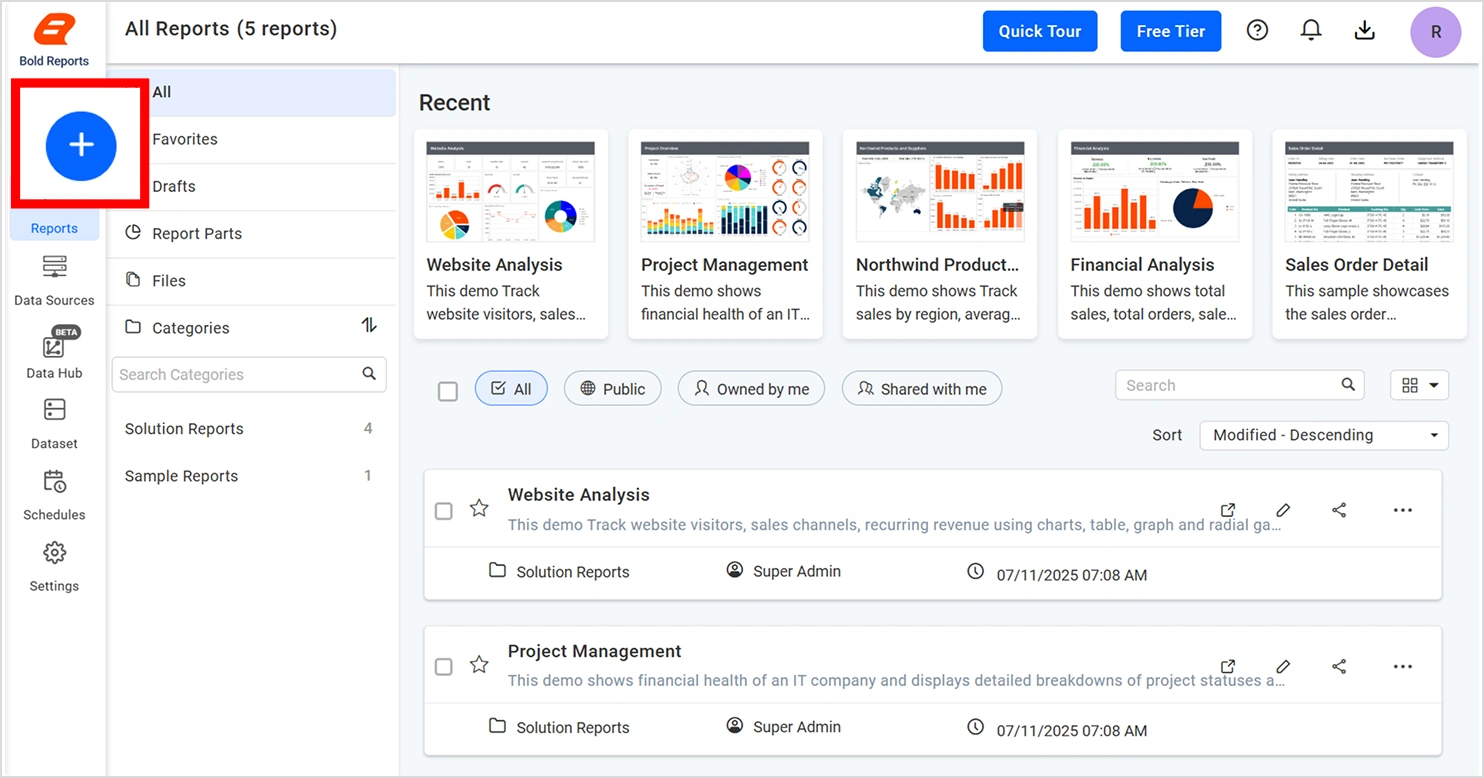
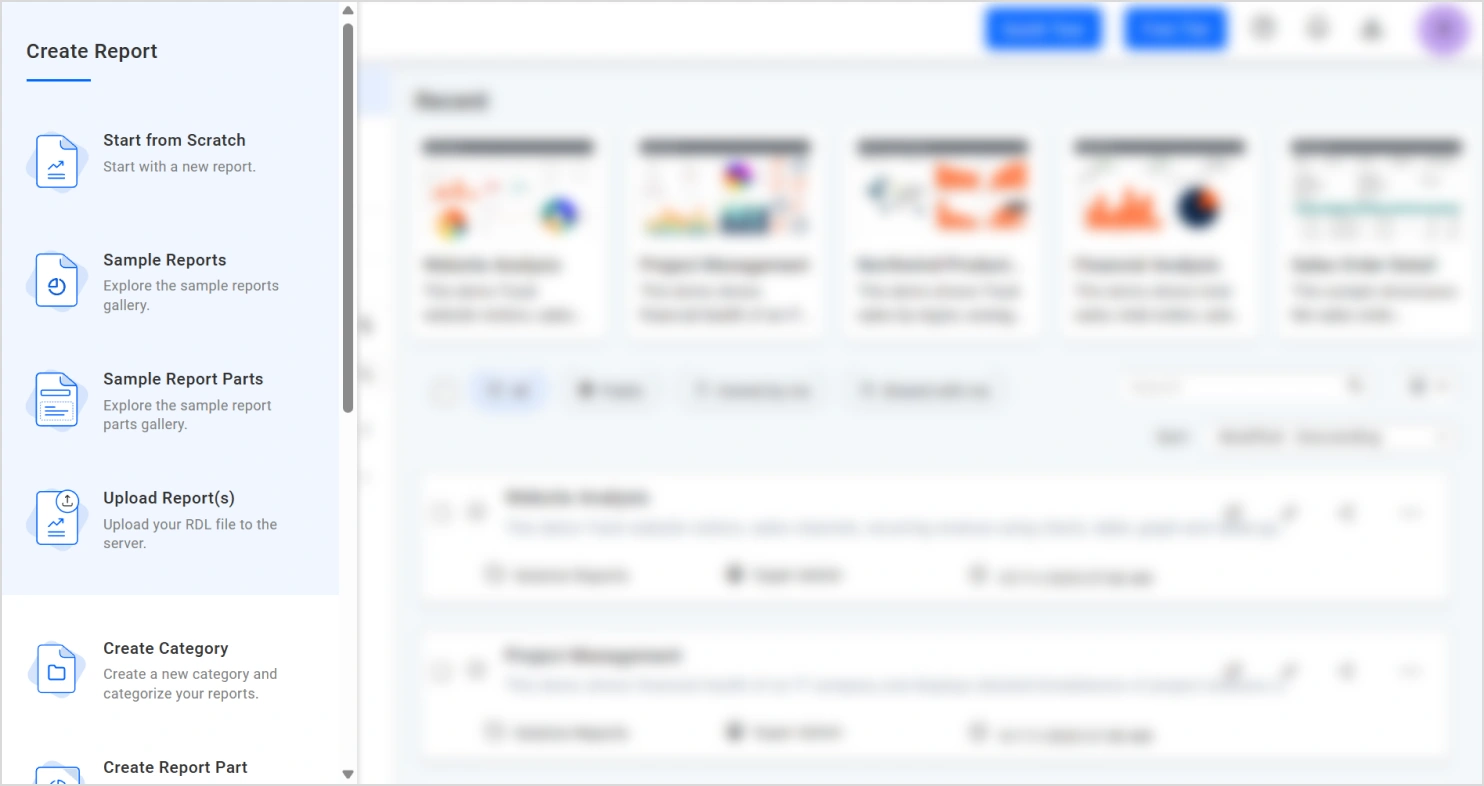
11. In the left toolbar, click the blue plus sign icon, and then click Start from Scratch
12. Name your report in the pop-up window. This demo report will use the name SSH Tunnel Configuration. After coming up with a name, click Add and Design. You’ll be taken to the designer surface where you can begin customizing your report.
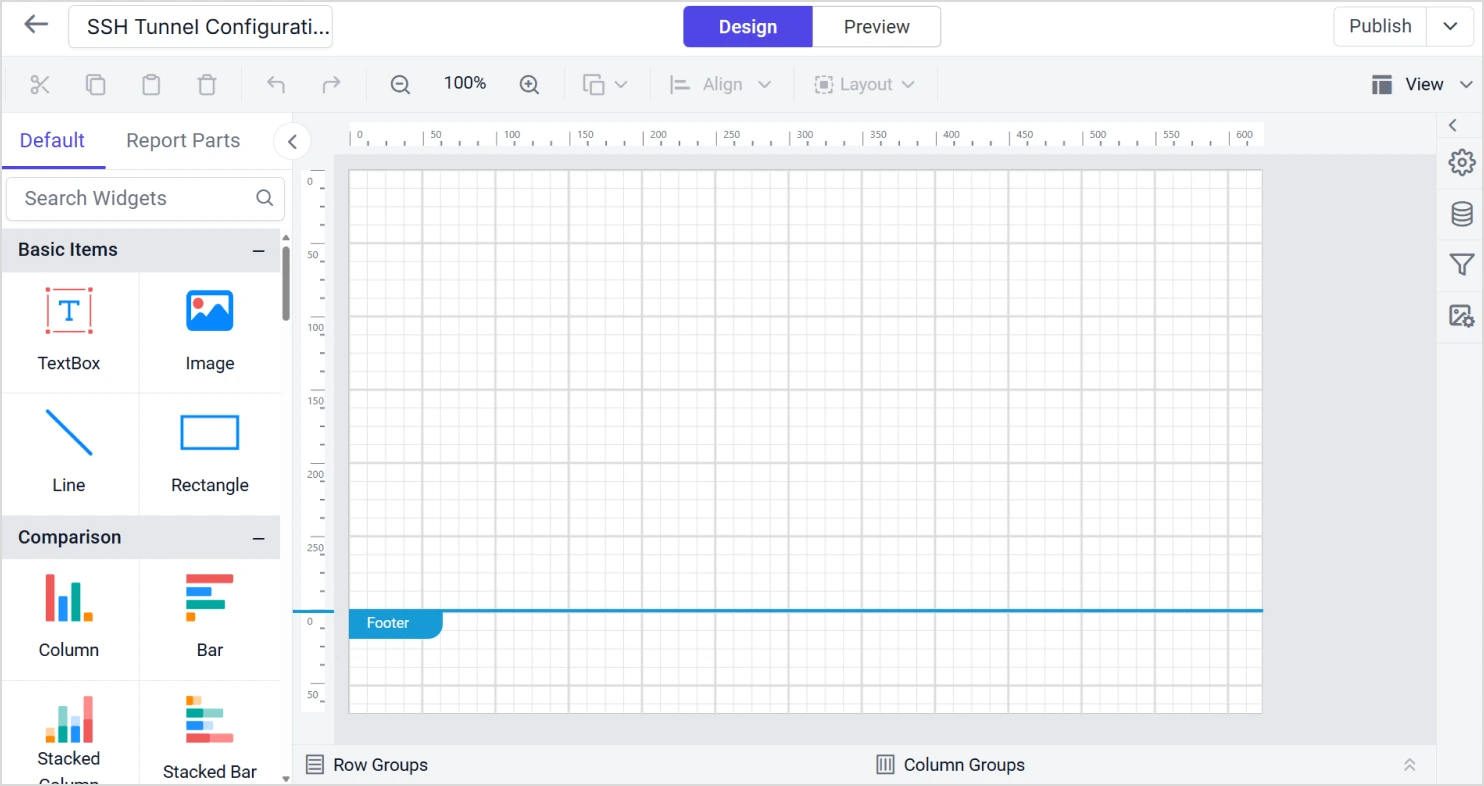
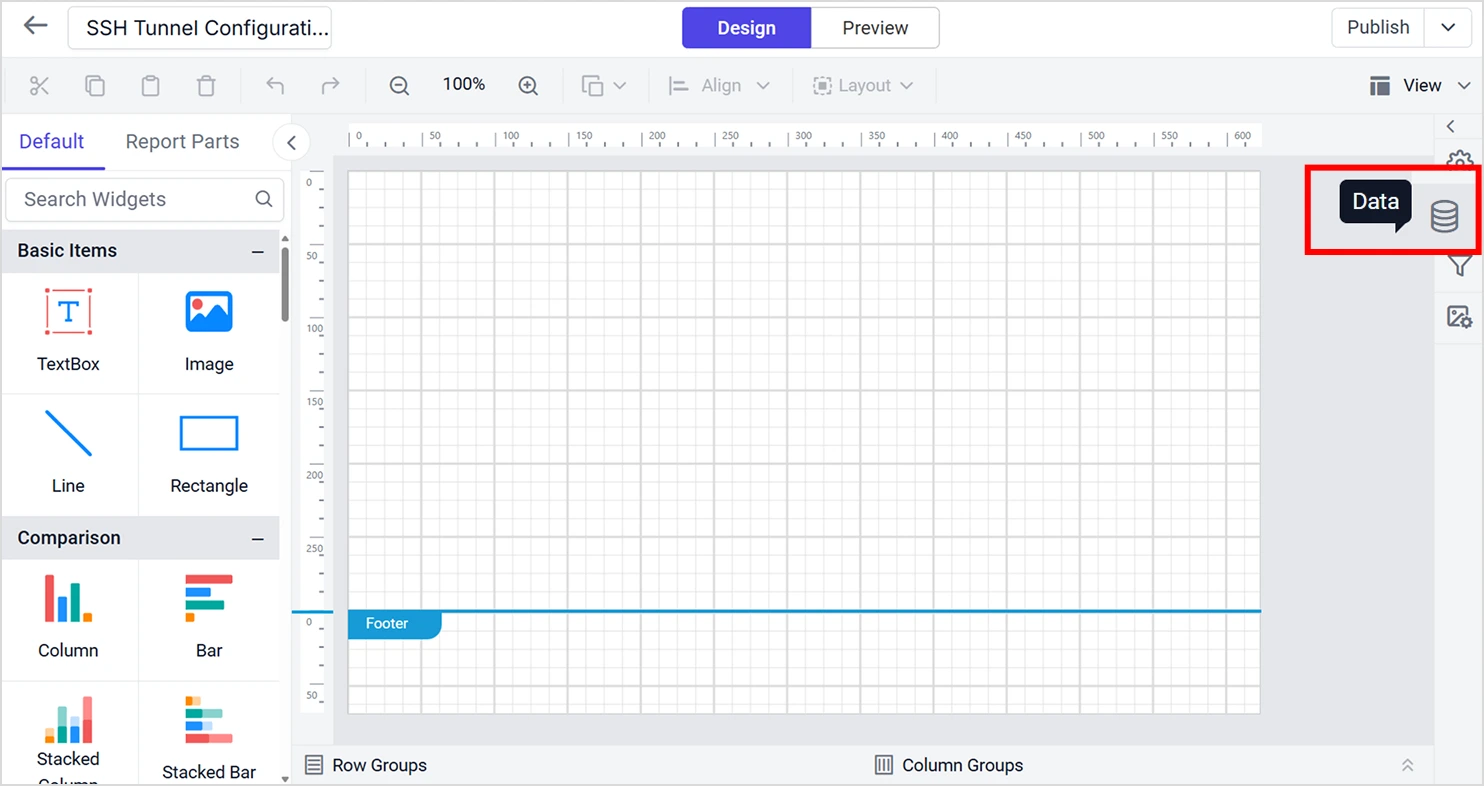
13. In the right-hand toolbar, click the second icon, Data, to open the data configuration panel.
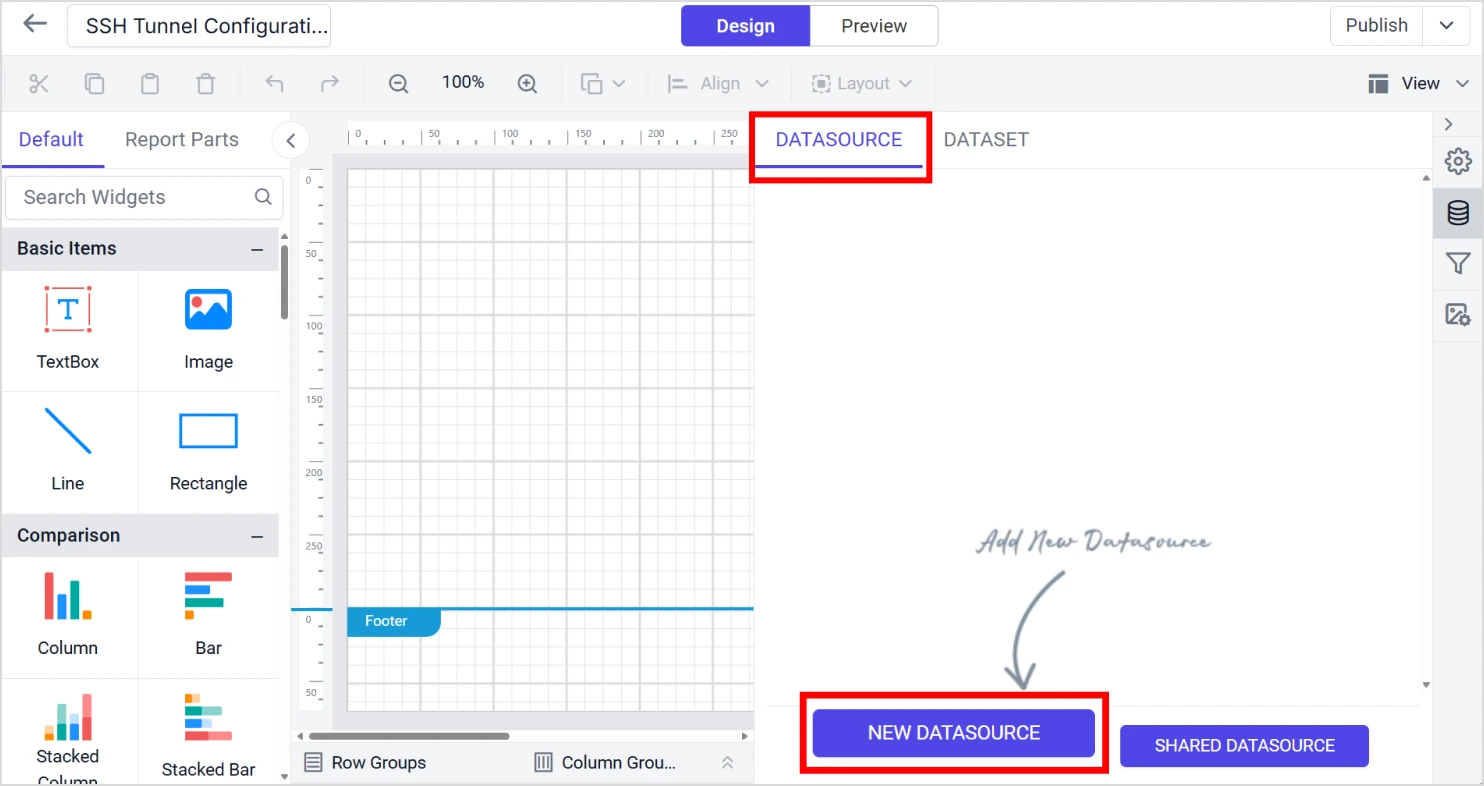
14. Select Datasource, and then click New Datasource to begin configuring your connection.
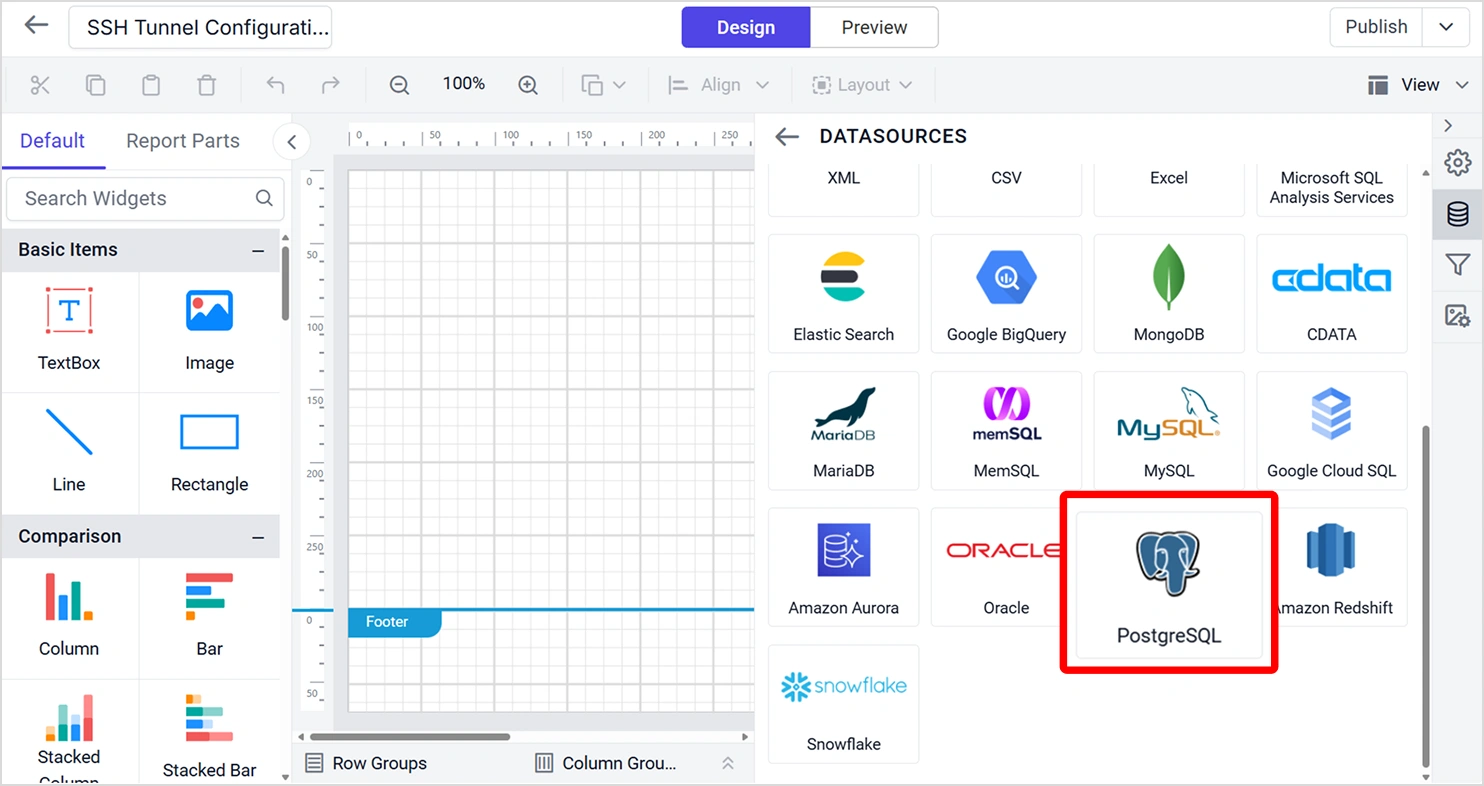
15. Choose your preferred data connector. This guide will use PostgreSQL.
16. Specify the SSH server name (IP address or host name) and define the SSH port, which is typically 22 unless configured otherwise.
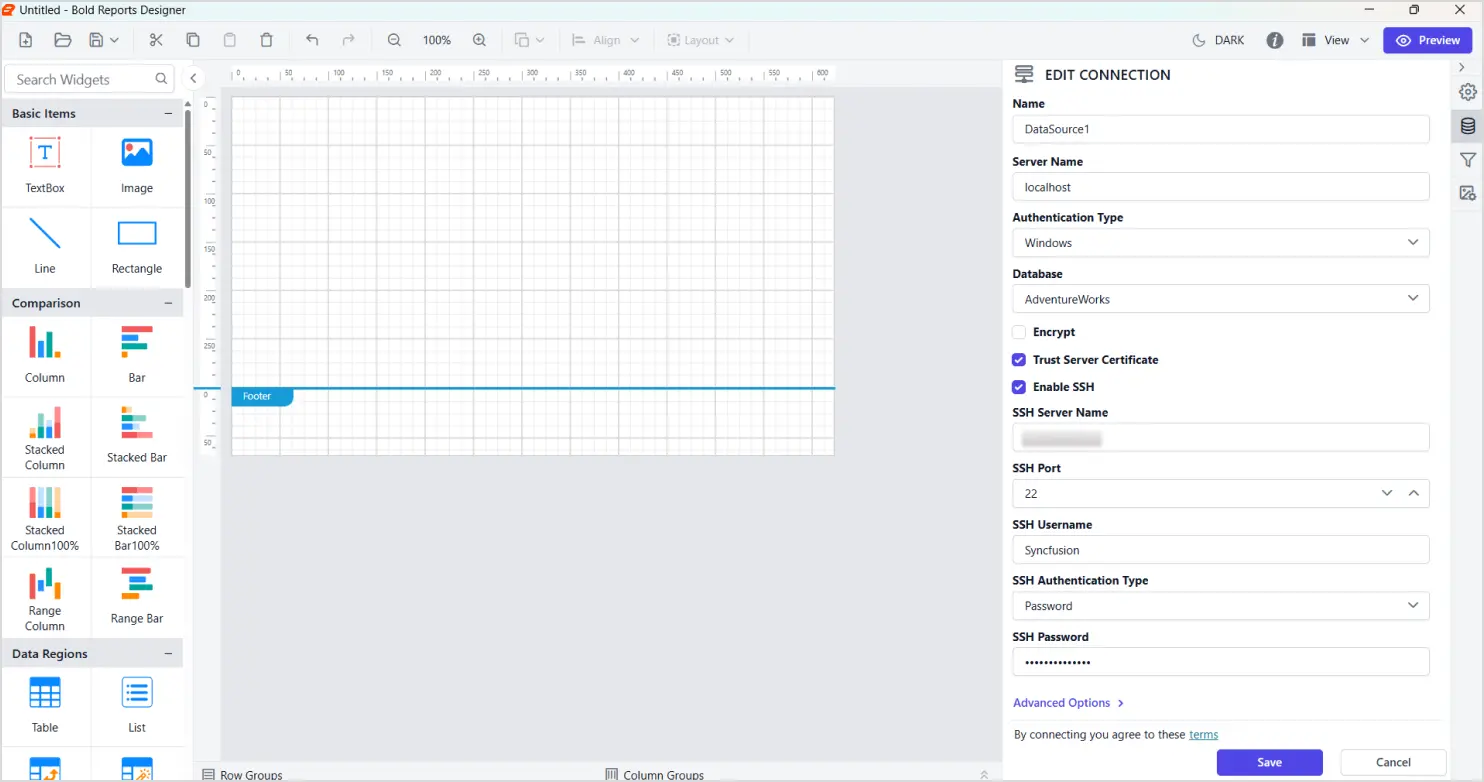
17. Enter the SSH username and choose the authentication type appropriate for your server setup. The available types are password authentication and public key authentication. In this demo, the Password SSH authentication type has been selected.
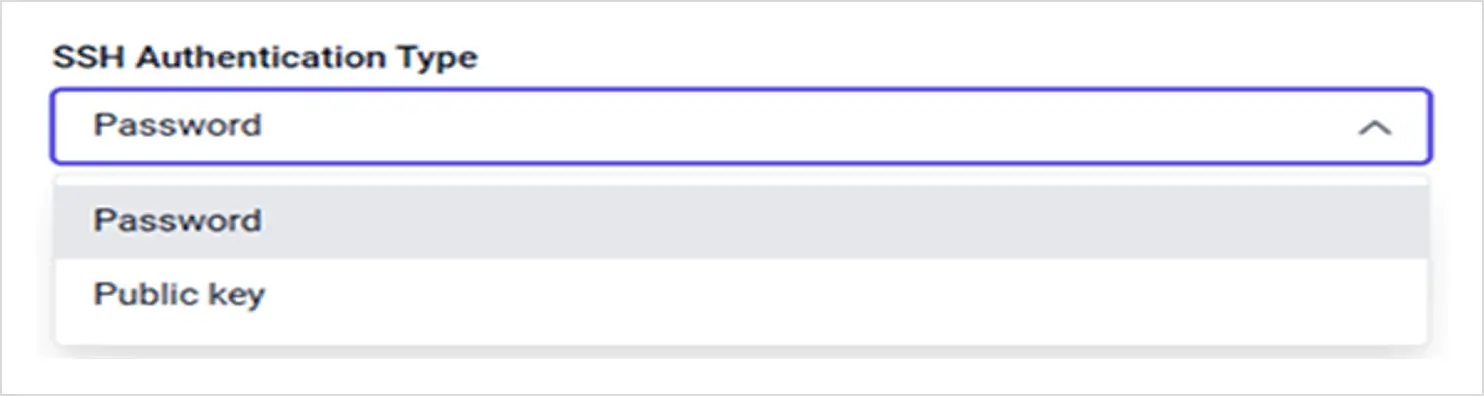
If you choose public key authentication, you must upload a .pem file (your private key) and optionally provide a passphrase, a security phrase used to unlock the private key. This is different from a password, which directly authenticates the user. A passphrase adds an extra layer of protection to your key file and is only needed if the key is encrypted.
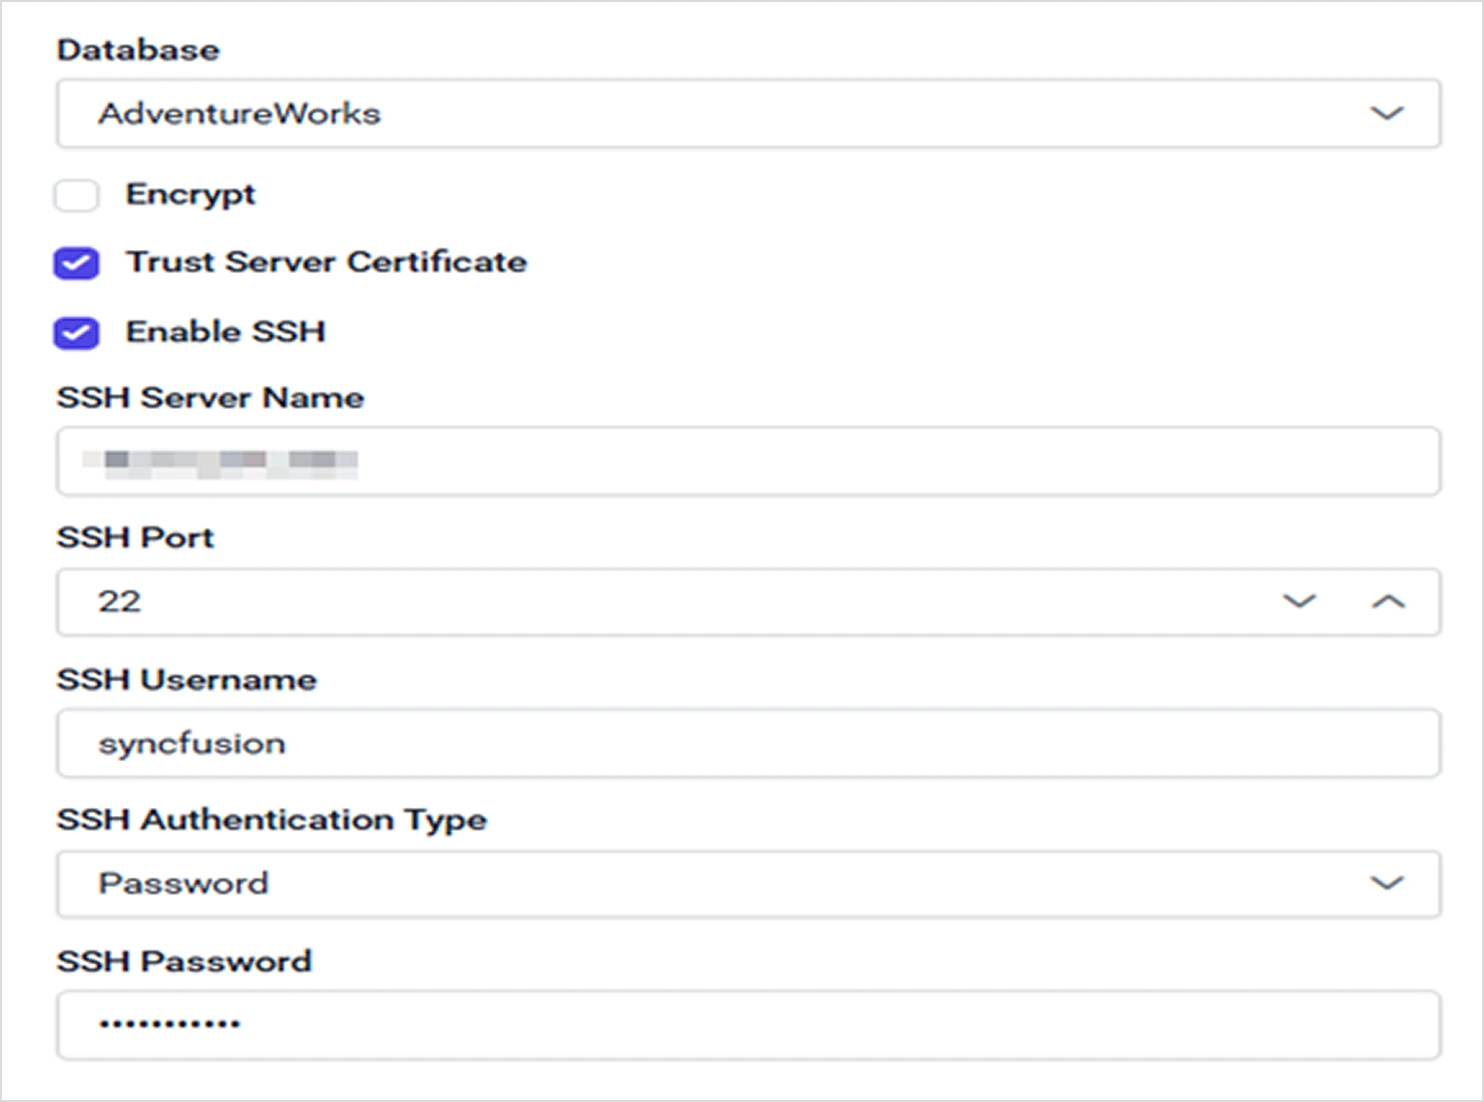
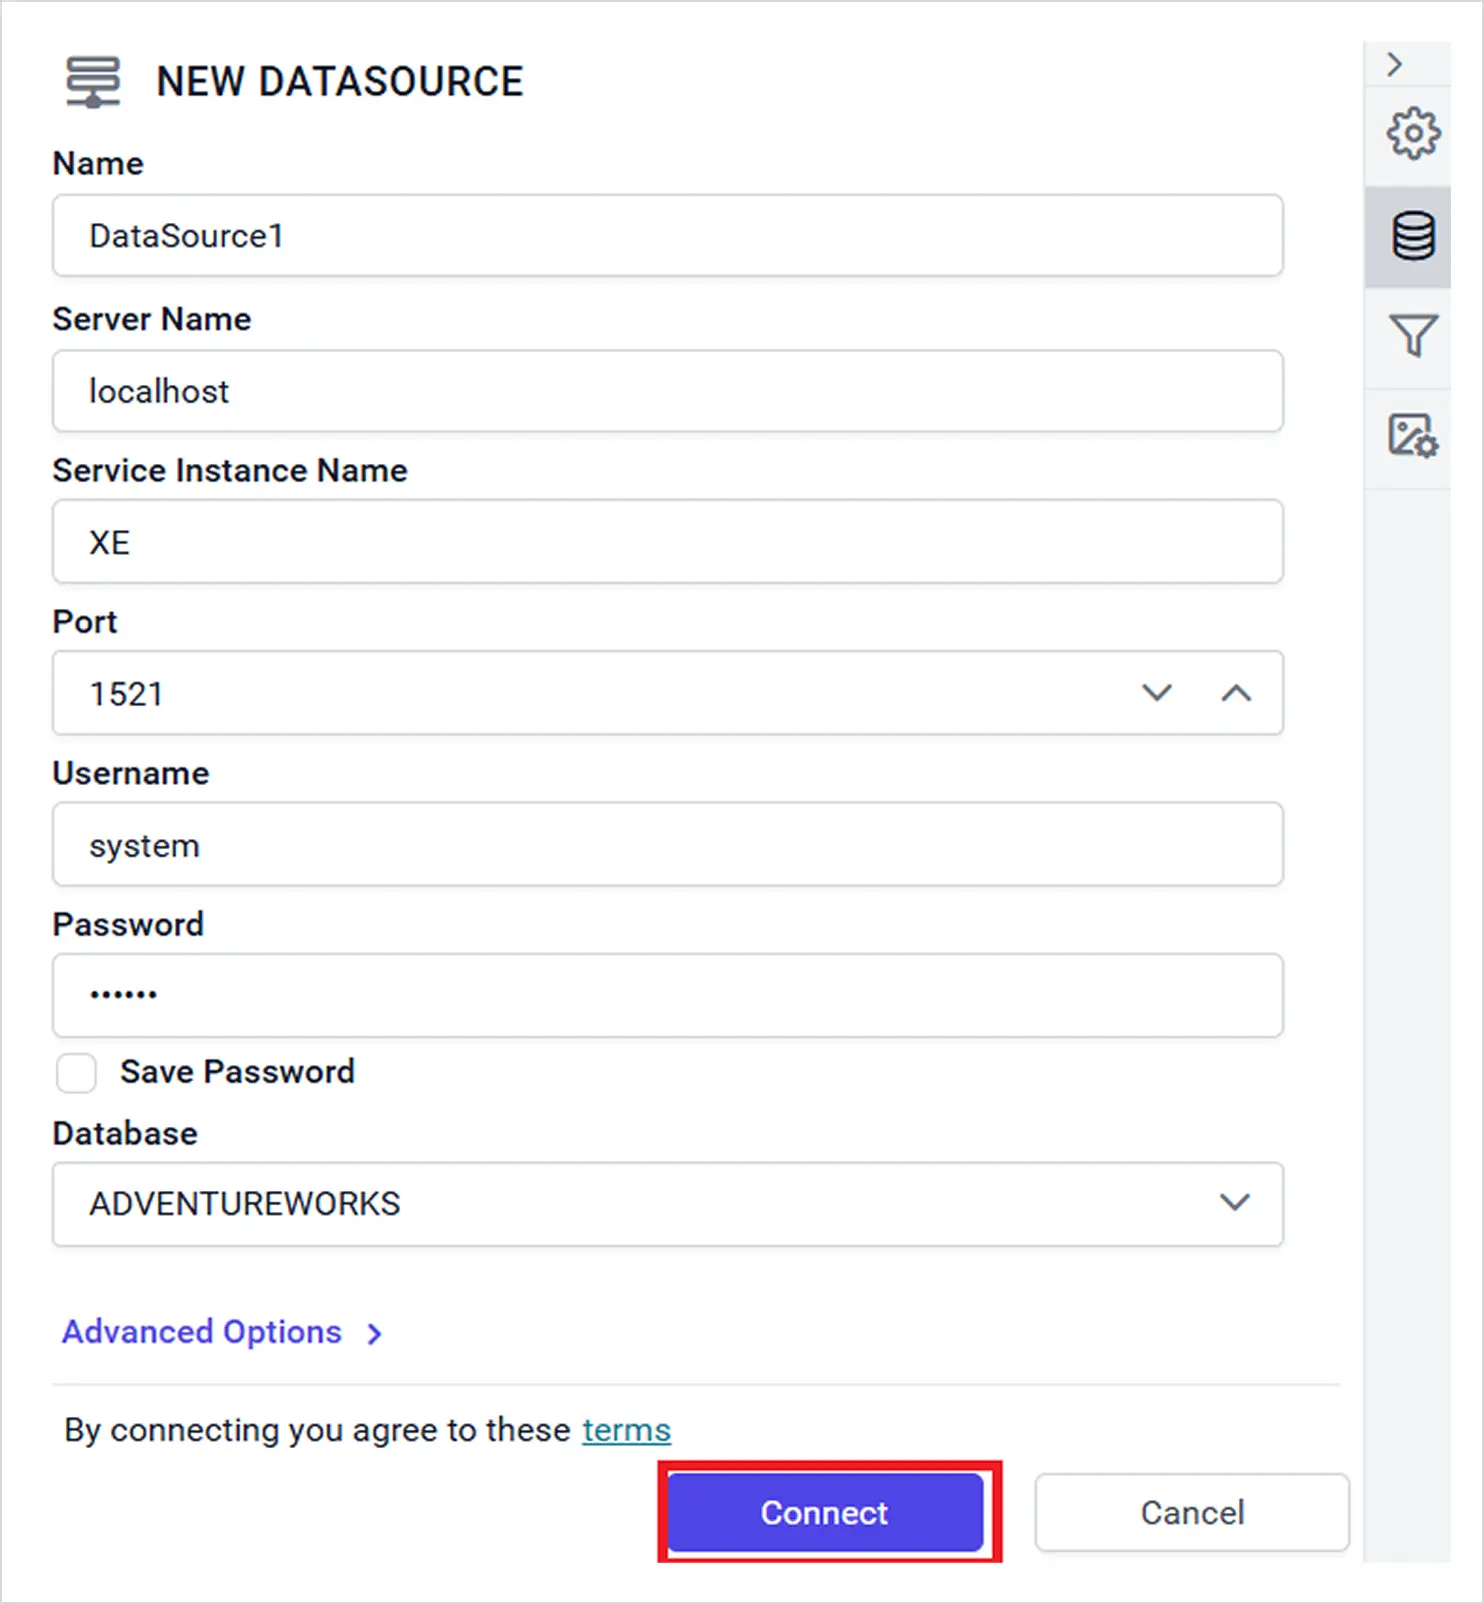
18. Click Connect after providing the SSH details.
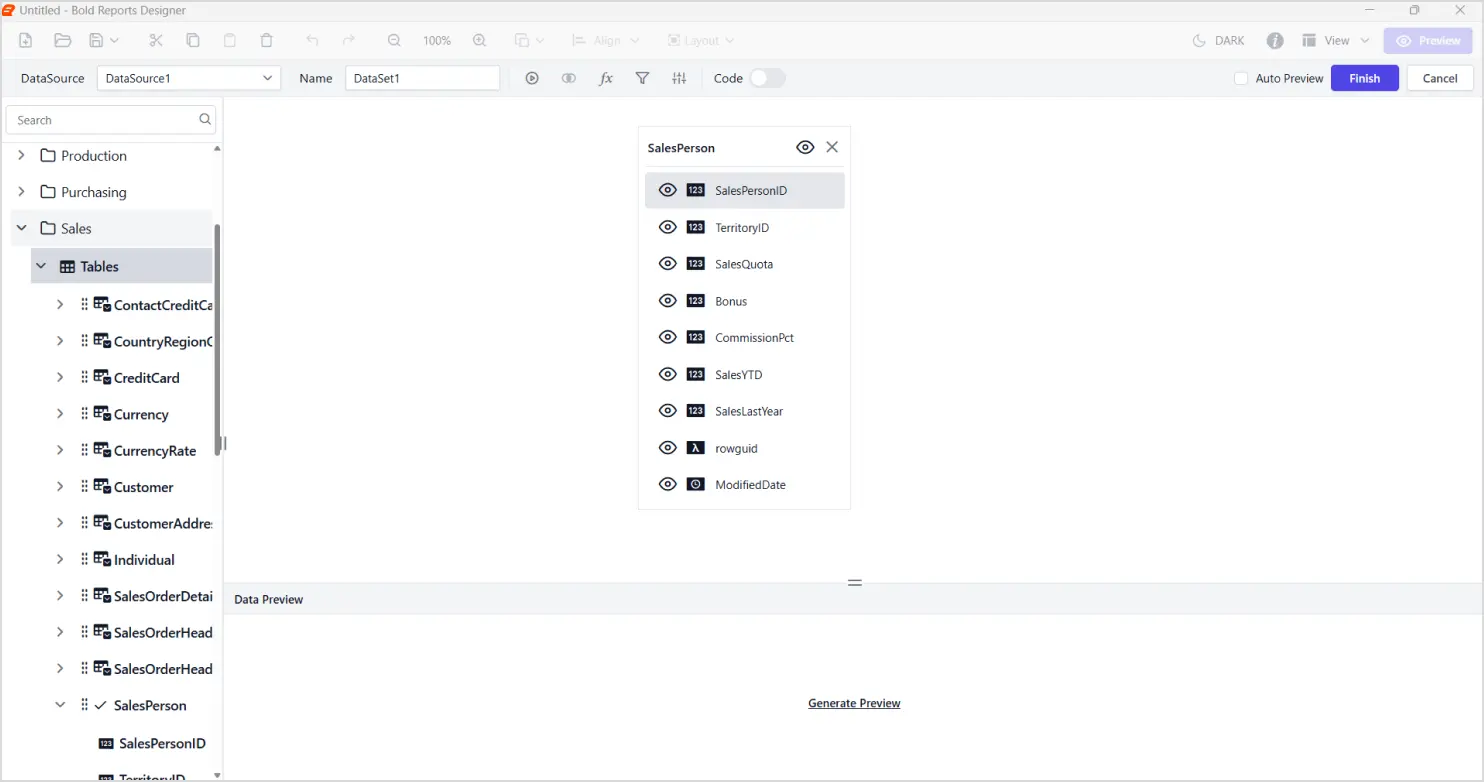
19. Drag and drop data tables into the Report Designer surface to begin visualizing your data.
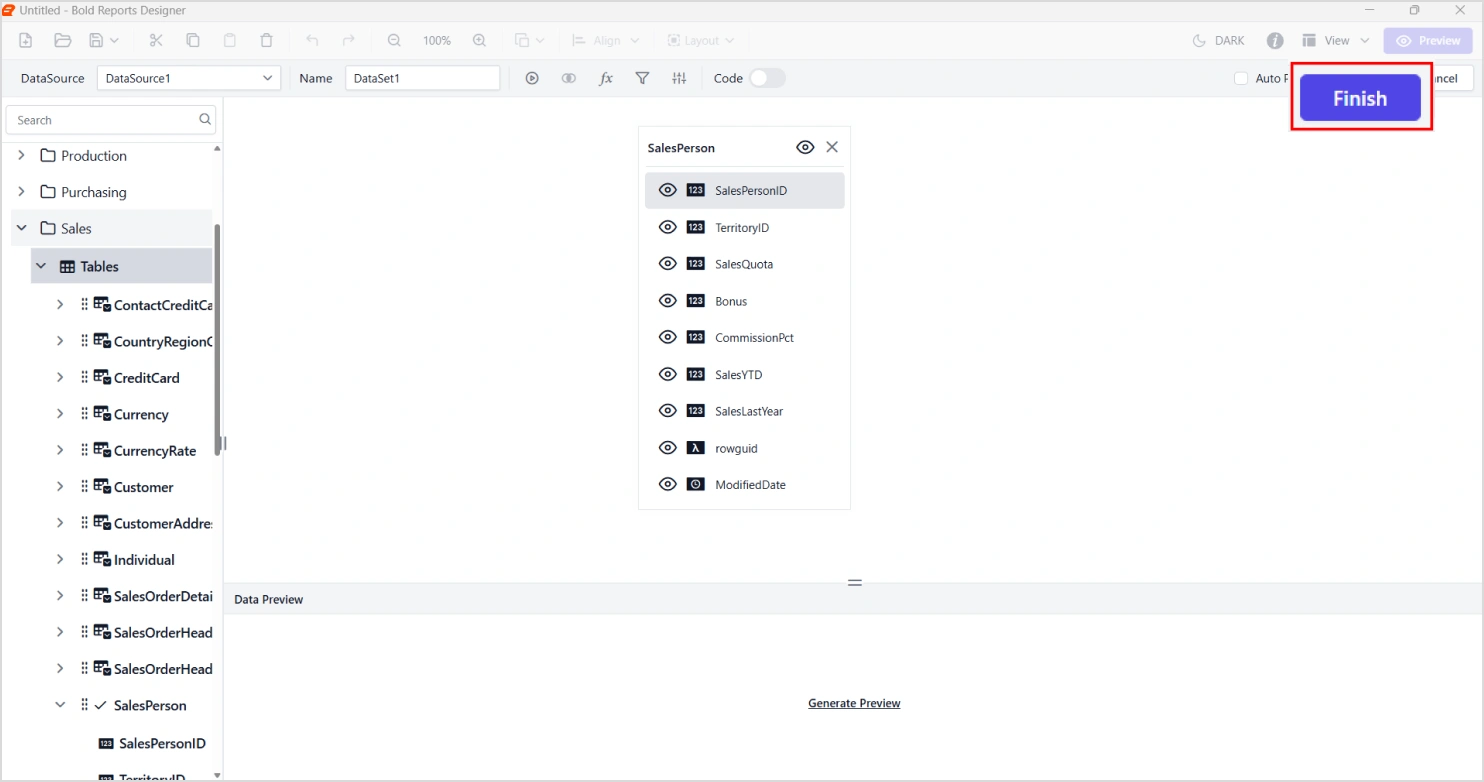
20. Click Finish to test and complete the SSH tunnel configuration.
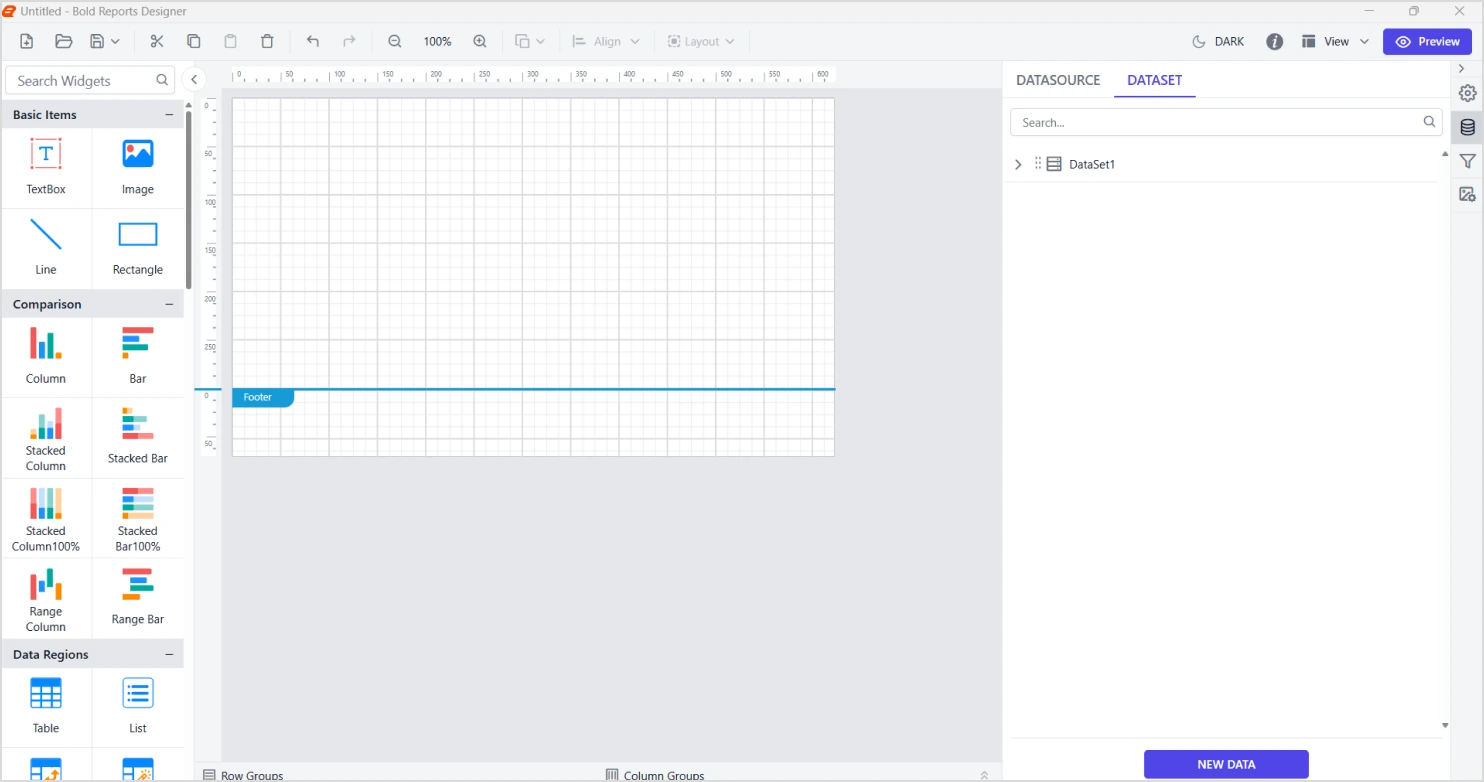
21. Once the connection is successfully established, select the widgets appropriate for visualizing your data. After configuring the widgets, save the setup to finalize the data connector usage in your report.
With these easy SSH configuration steps in hand, you’re ready to securely connect to remote data sources. Next, let’s look at the key benefits of using SSH tunnels in reporting tools.
7 key benefits of using SSH tunnels in reporting tools
To understand why SSH tunneling is gaining traction in reporting environments, let’s look at seven key benefits it brings to secure data access.
-
- End-to-end encryption: SSH tunnels encrypt all traffic between your local machine and the remote server, protecting data from eavesdropping and tampering.
- Secure remote access: You can safely access databases and services hosted behind firewalls or on private networks without exposing them to the internet.
- Bypass network restrictions: SSH tunneling allows you to route traffic through secure channels, helping you bypass firewalls, NAT, or restrictive network policies.
- Credential safety: Authentication credentials are transmitted securely, reducing the risk of interception or unauthorized access.
- Compliance and data protection: Using SSH tunnels supports compliance with data security standards like GDPR, HIPAA, and others by encrypting data flows.
- Flexible authentication: SSH tunnels support both password and public key authentication, giving organizations control over access methods based on their security policies.
- Port forwarding capabilities: SSH tunnels enable local, remote, and dynamic port forwarding, allowing access to services that are not directly reachable.
Together, these seven benefits highlight why SSH tunneling is becoming a go-to solution for secure data access in reporting tools. From enhancing connectivity to supporting compliance, it empowers teams to work confidently across protected environments.
Conclusion
SSH tunneling offers a secure, flexible way to access remote databases across protected networks. With Bold Reports, setting up these tunnels is simple, no external tools or complex configurations are required. Whether you’re working behind firewalls or managing sensitive data, Bold Reports ensures safe, seamless connectivity for smarter reporting.
Ready to elevate your business reporting strategy? Try Bold Reports free for 30 days or book a personalized demo with our team to see how it can transform your reporting workflows. Do you have any questions or feedback? Leave a comment, we’d love to hear from you. Want to learn more about secure data access? Explore the enterprise security features of Bold Reports® to learn more.
Frequently asked questions
- 1.
What is an SSH tunnel?
It is an encrypted connection used to securely access remote servers.
- 2.
Why is SSH tunneling important for reporting?
It protects sensitive data during transmission.
- 3.
What reporting challenges does SSH tunneling solve?
Firewall restrictions, insecure connections, and credential exposure.
- 4.
How does Bold Reports support SSH tunneling?
It offers built-in SSH configuration in the Report Designer.